
Configure your sales channel
Set up every step of your buyer's journey: offers, buyer and attendee data, payment, confirmation page, tickets, email and branding.
With Billy, you design your sales channel from A to Z. Every step your buyer goes through, from the first ticket to the confirmation email, is a setting you control.
Before you start: you need an event with at least one ticket category. See Create an event and Setting up ticket categories.
Open your sales channel
Open your event and click Sales channels in the event menu. The steps of your buyer's journey are listed on the left, ① to ⑦, and a live preview of your widget sits in the middle. Click a step: its settings open on the right and the preview jumps to that step.
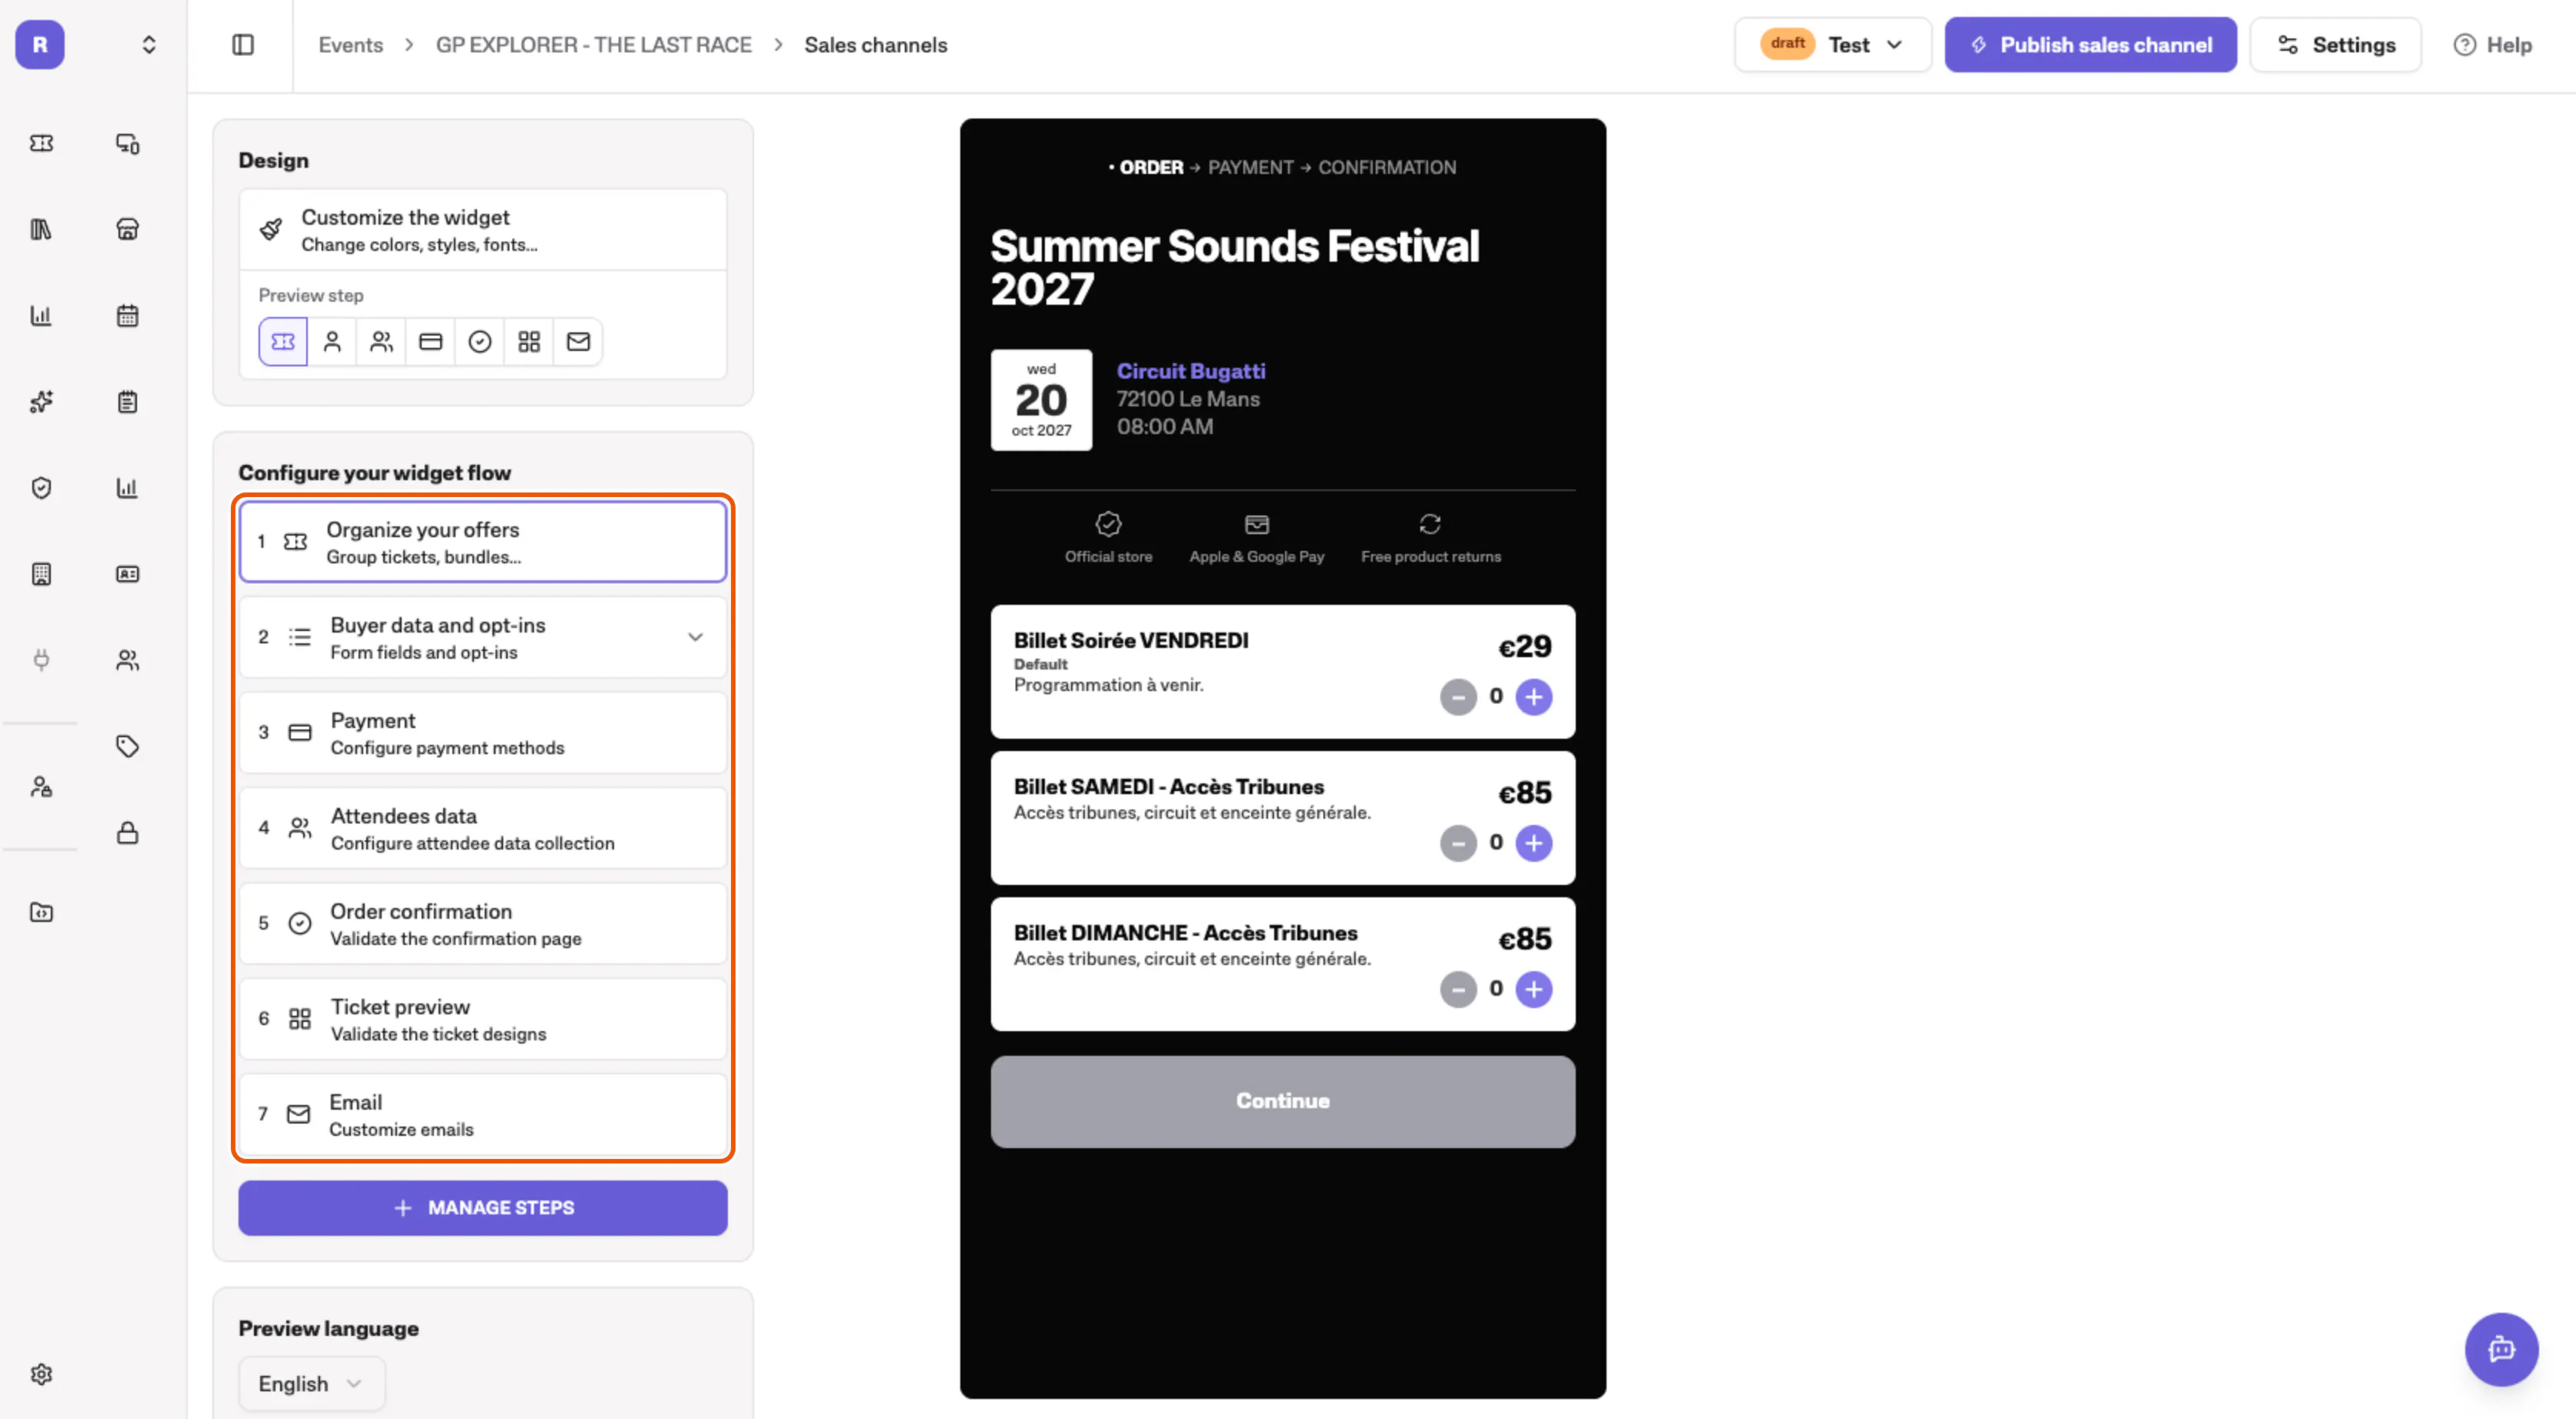

1. Choose what you sell
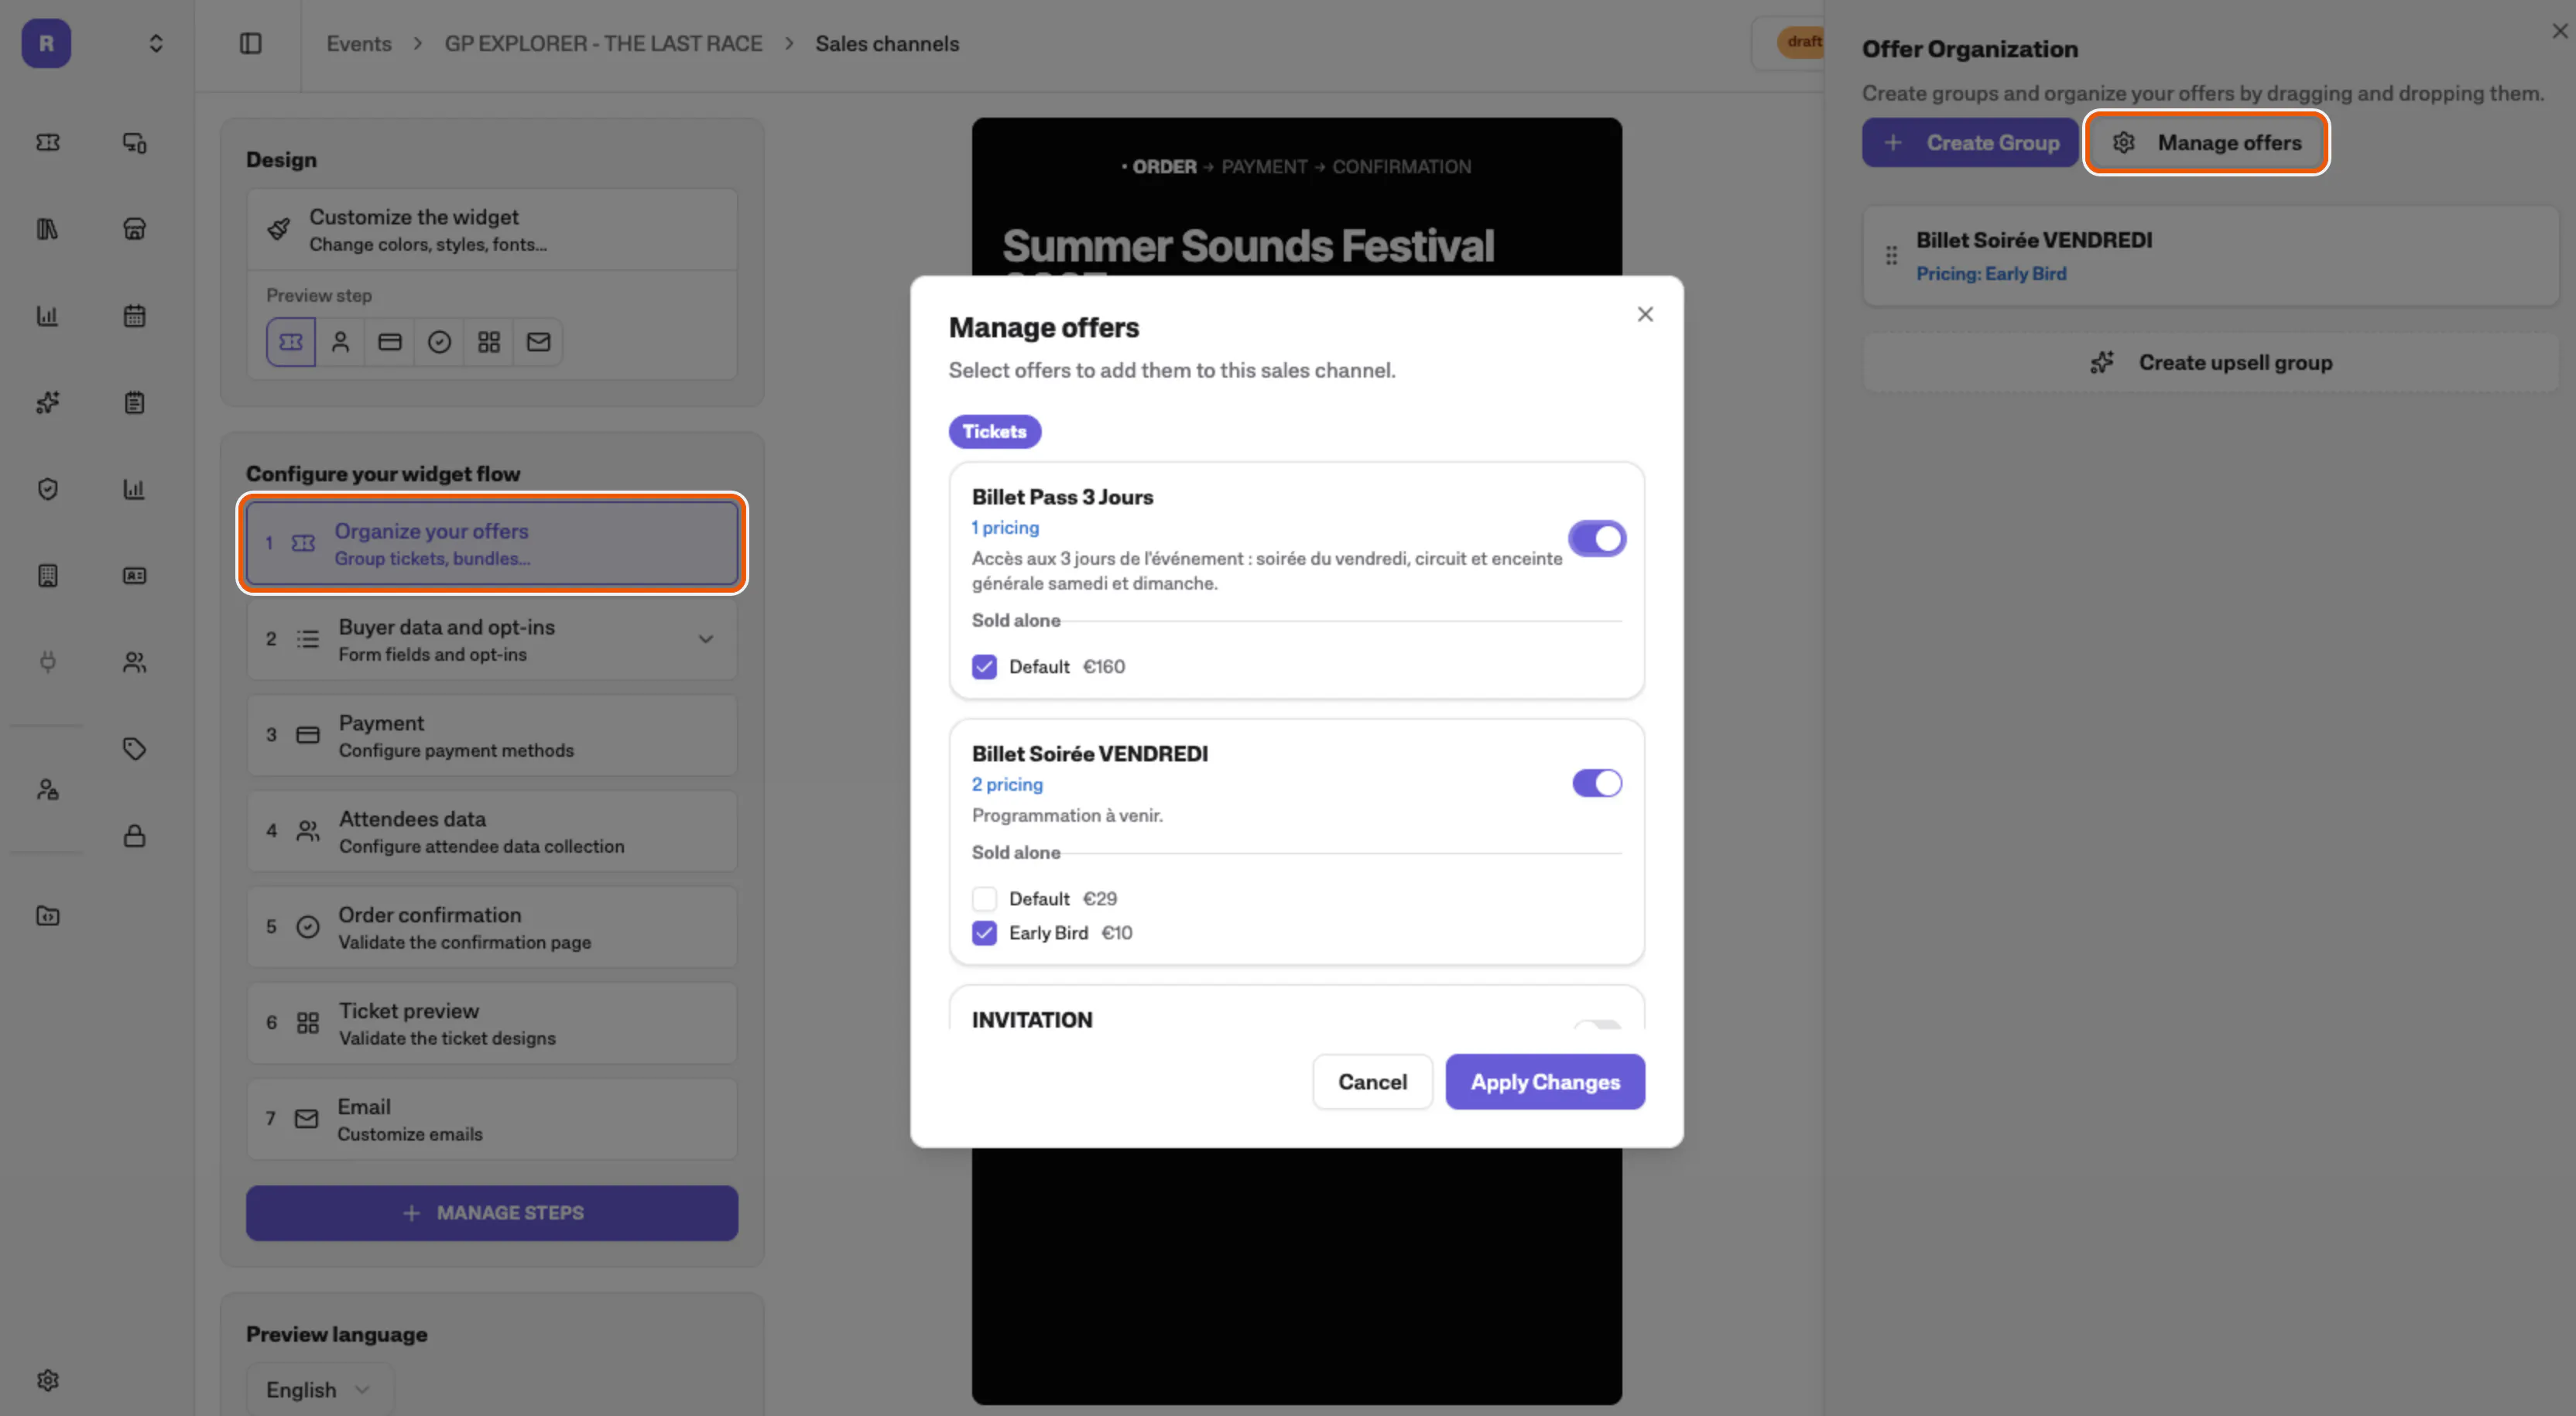
Click Organize your offers ①, then Manage offers, and switch on the ticket categories this channel sells. Drag them to set the order your buyer sees. See Managing Offers in Your Sales Channel.

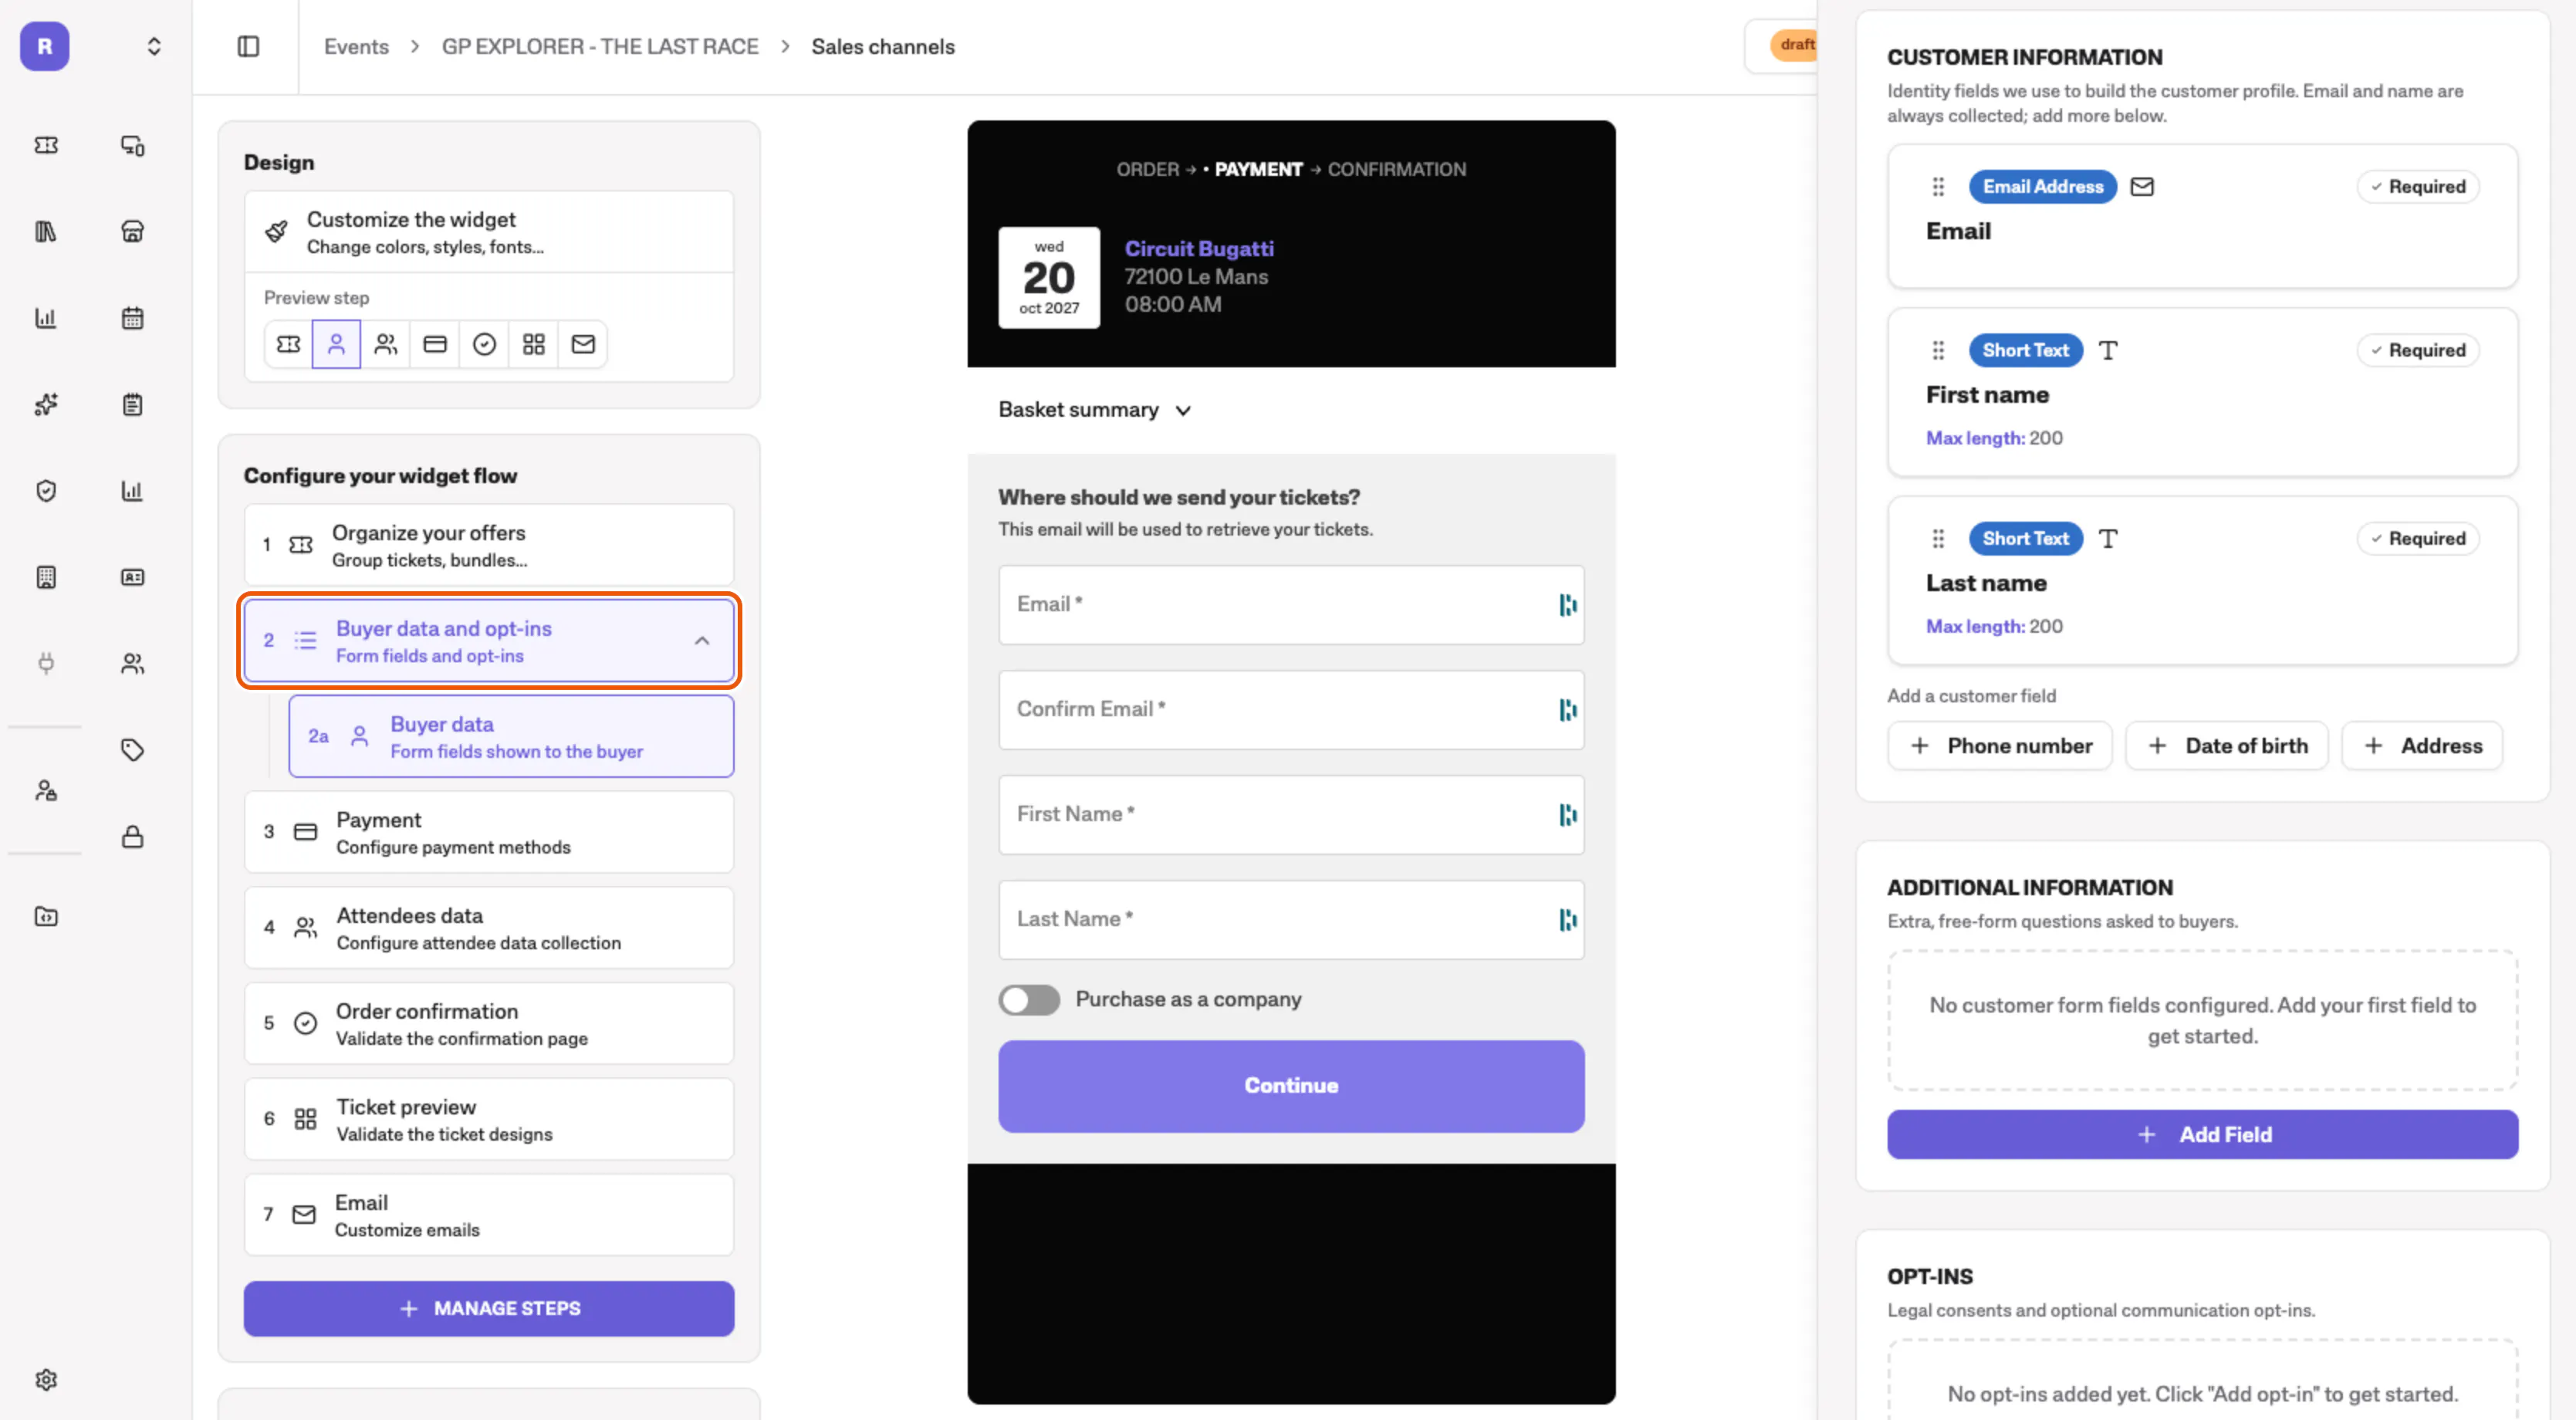
2. Choose what you ask your buyer
Click Buyer data and opt-ins ②. Email, first name and last name are always asked: add the other fields and the opt-ins you need. See Collect buyers information.

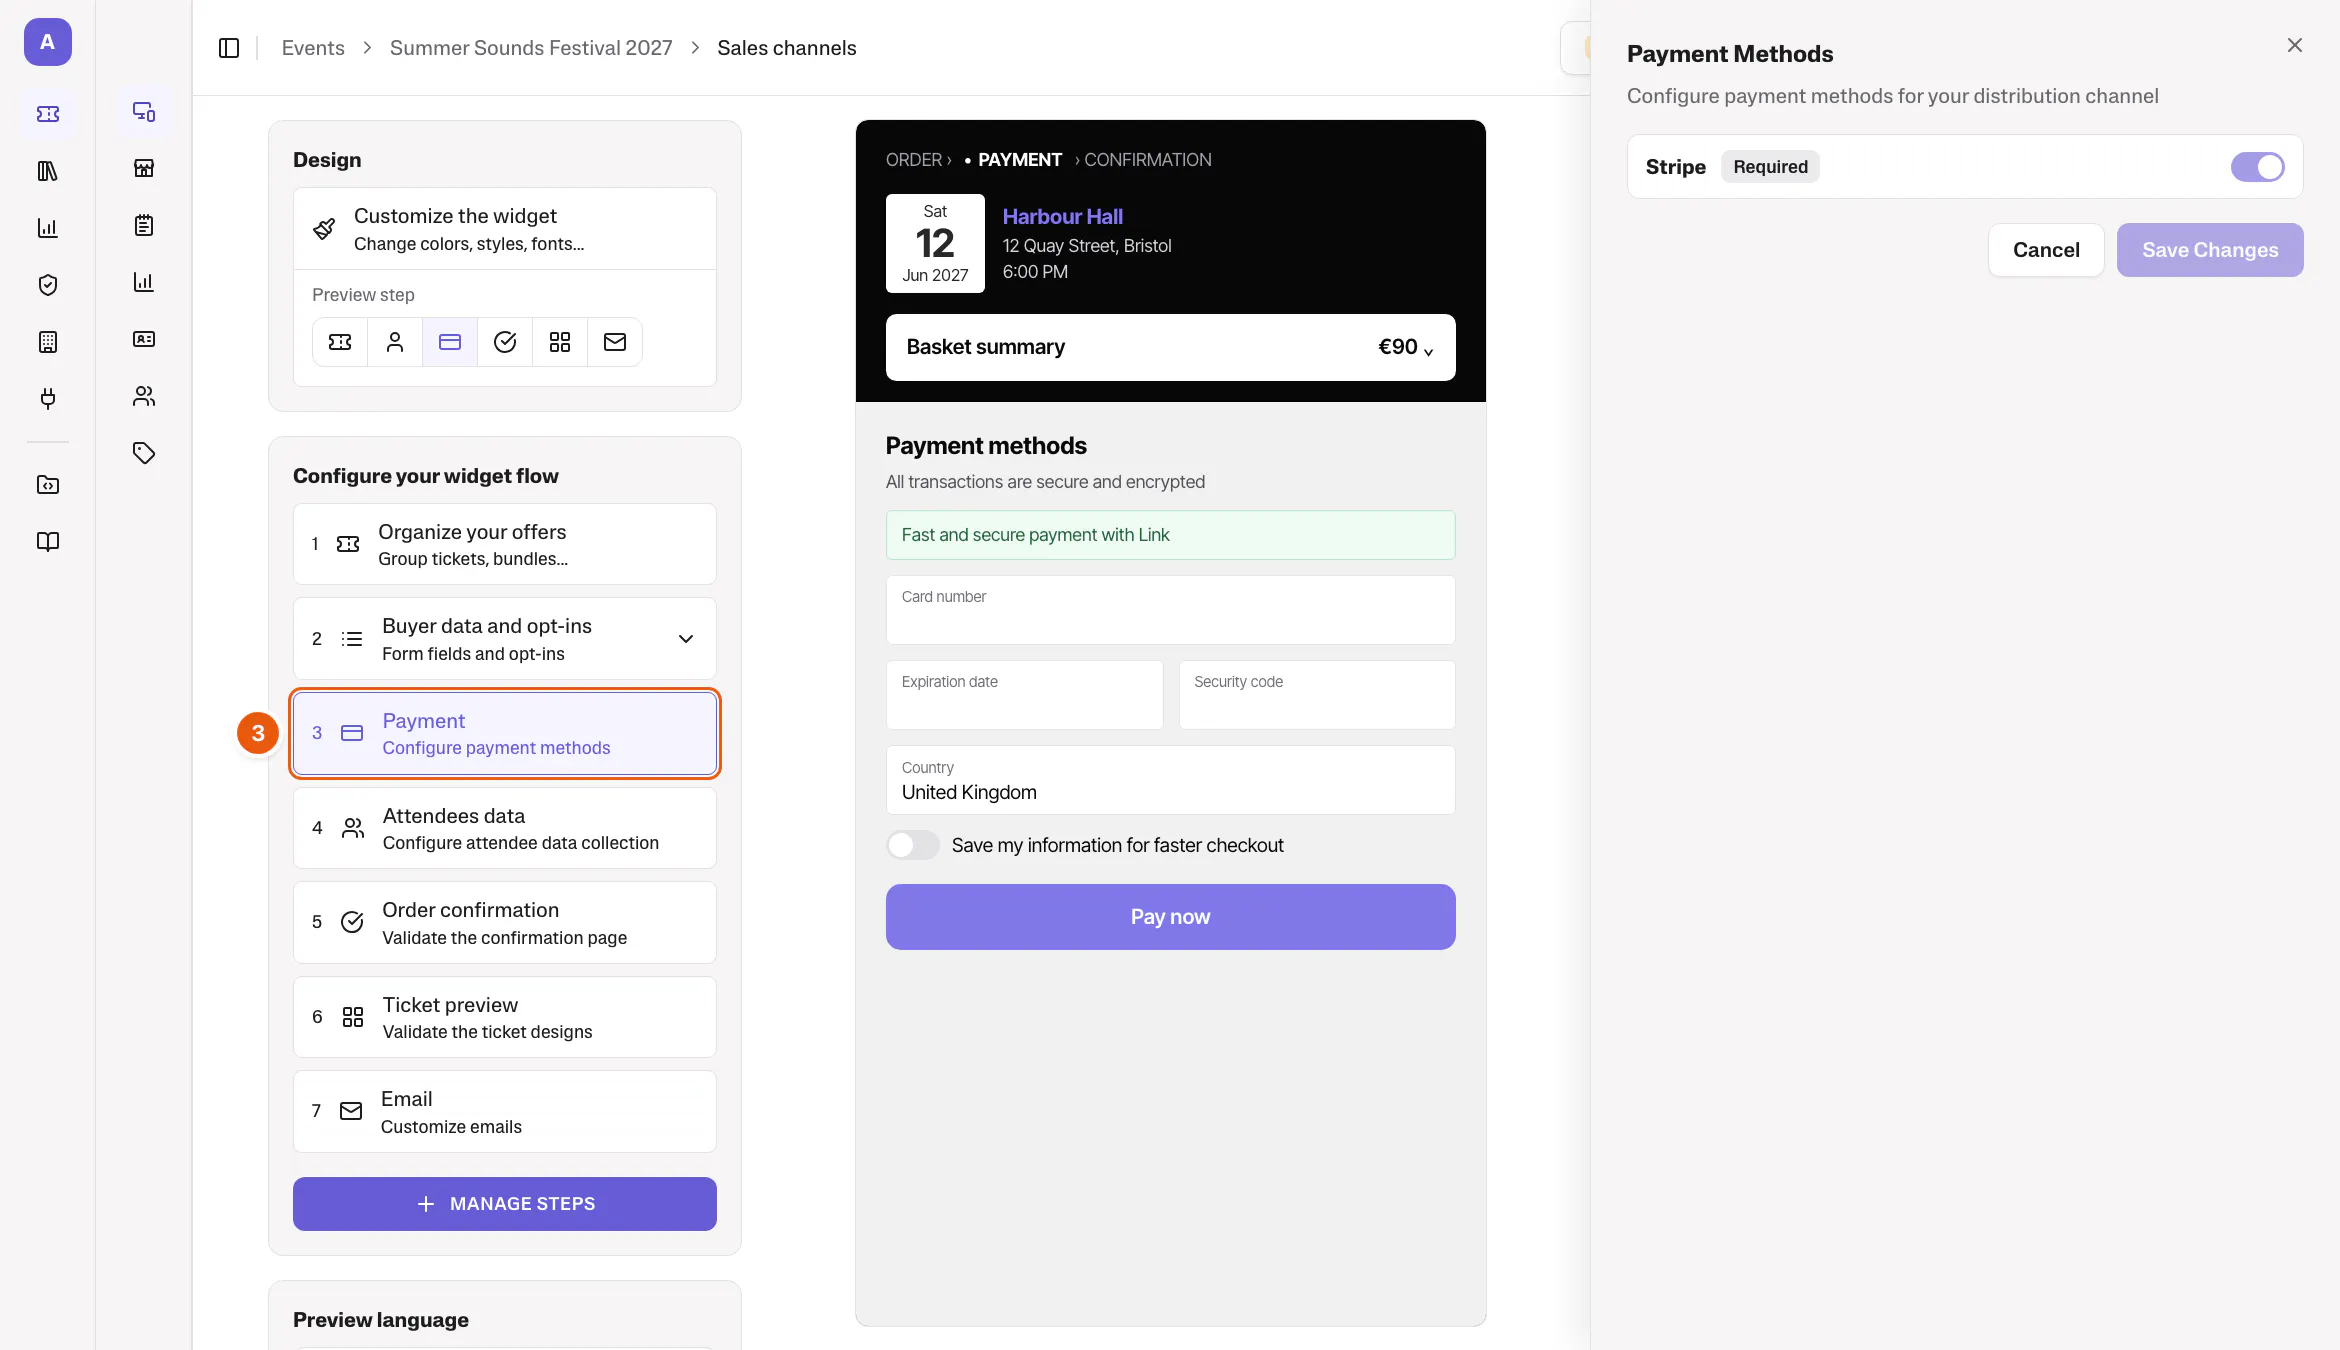
3. Choose your payment methods
Click Payment ③ and switch on the payment methods your buyers can use. Card payment runs on Stripe and is always on. See Set up your Stripe account.

4. Choose what you ask each attendee
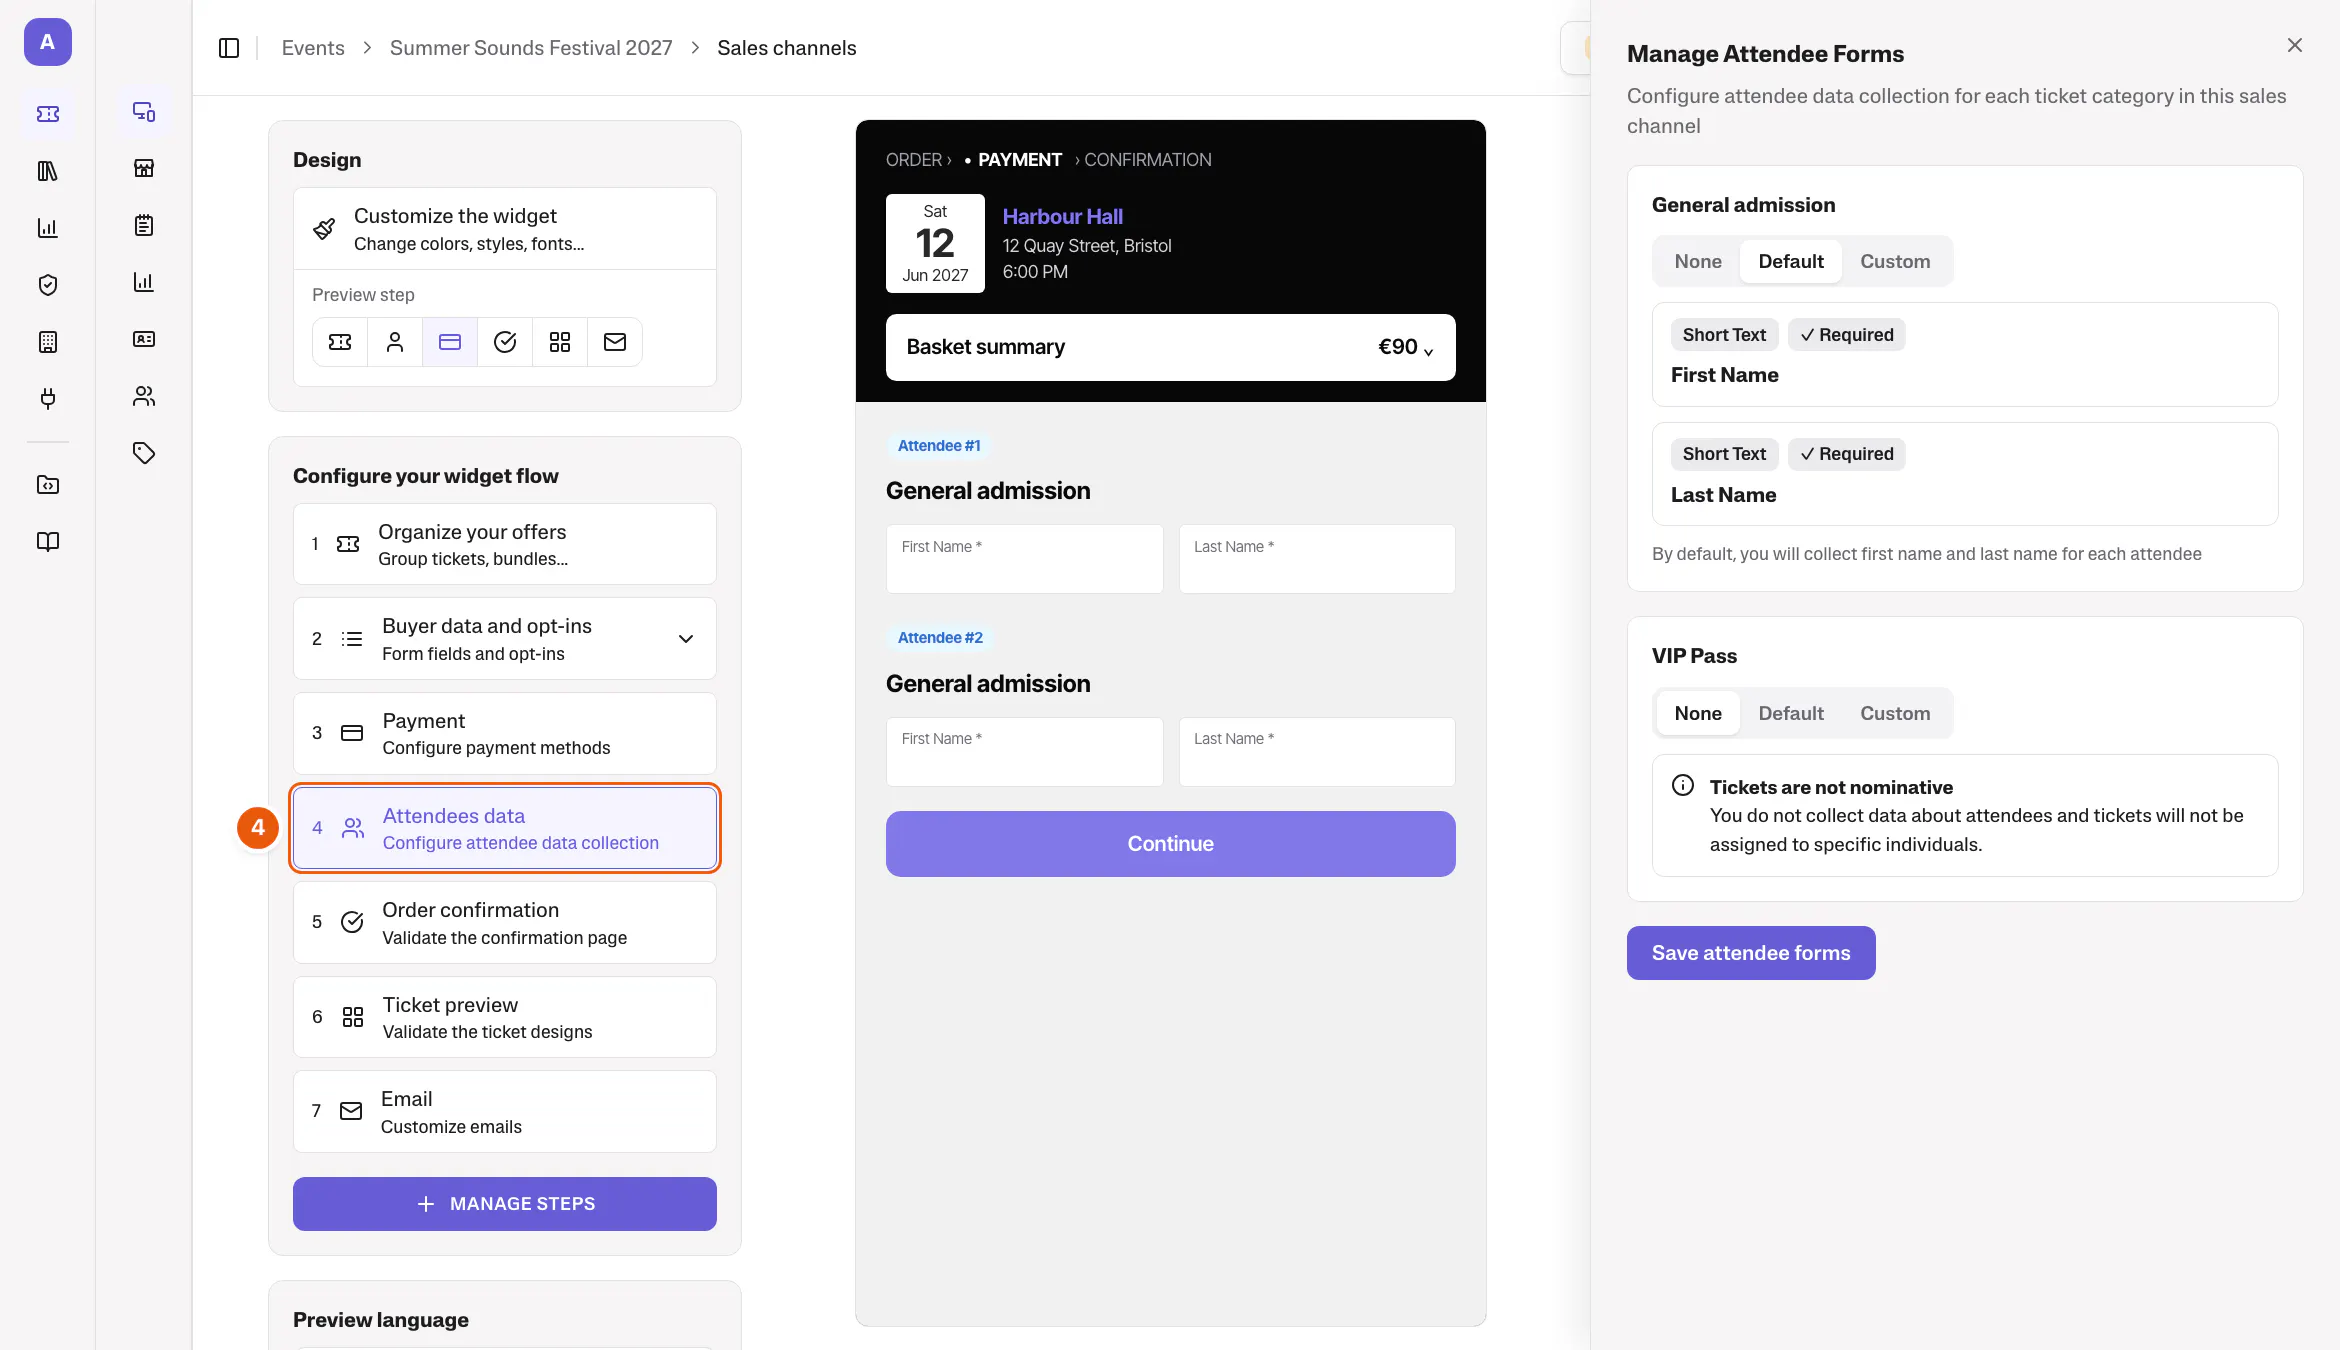
Click Attendees data ④. For each ticket category, choose None, Default (first name and last name) or Custom. See Collect attendees information.

5. Set up your order confirmation page
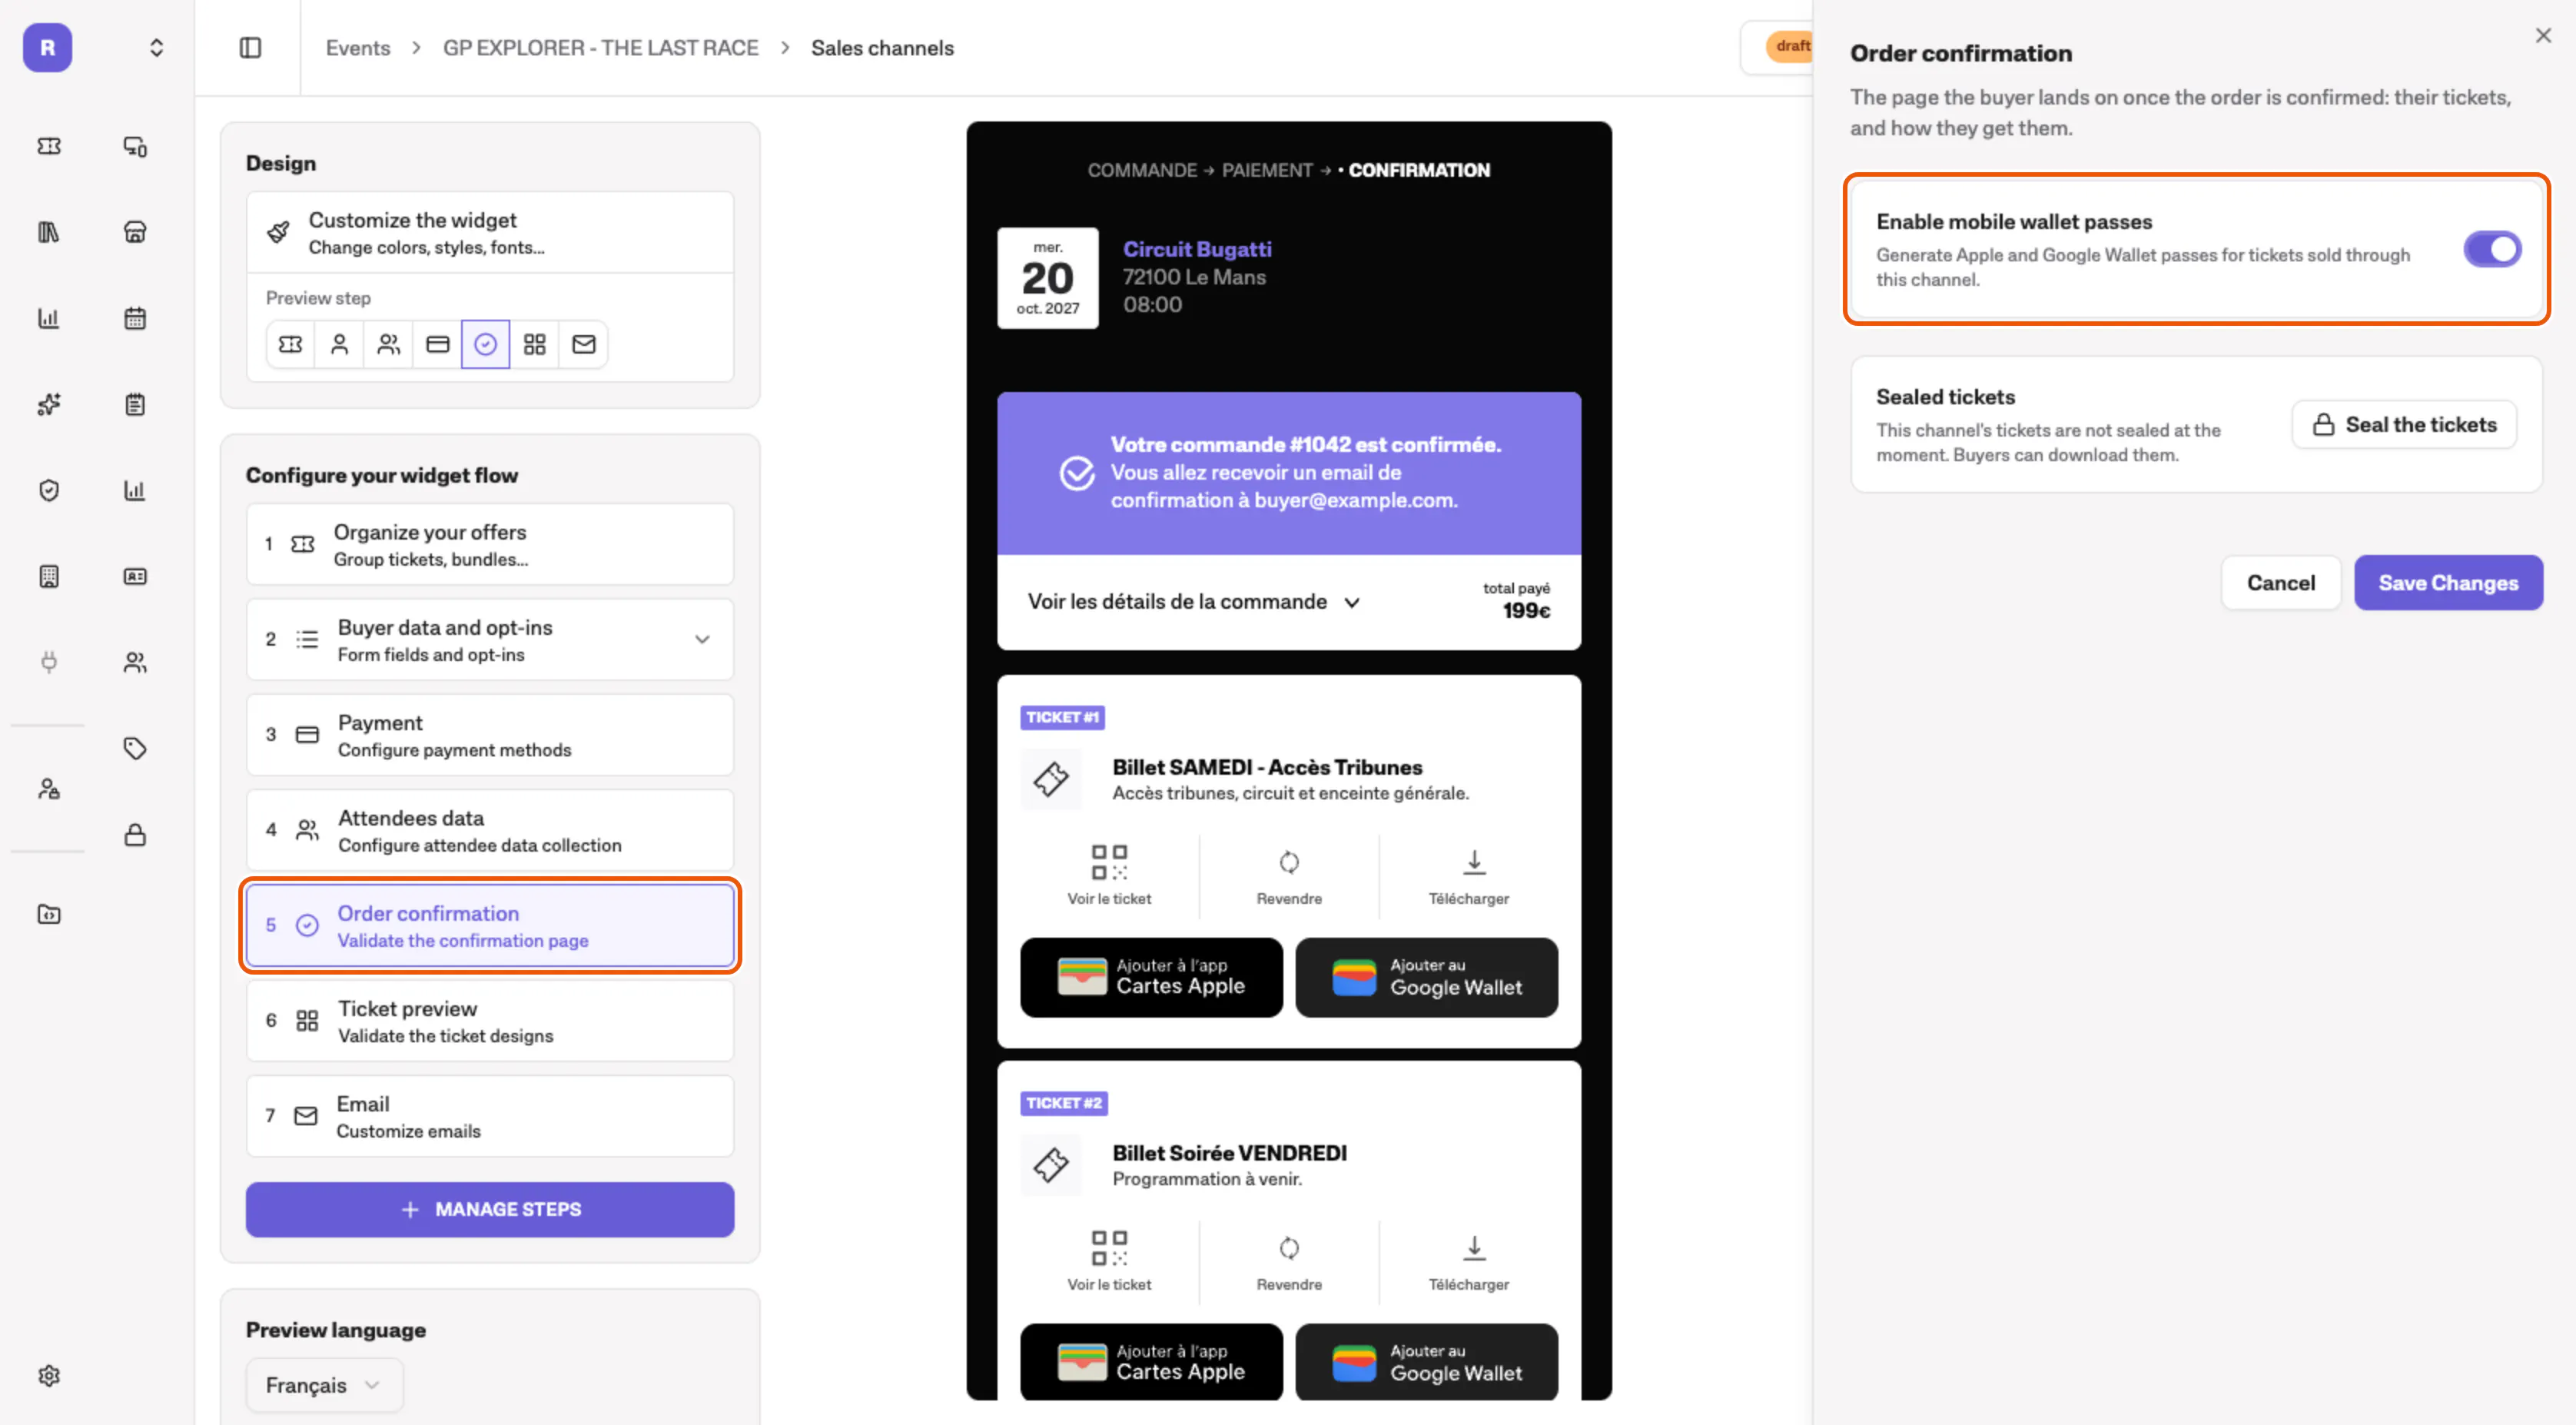
Click Order confirmation ⑤ to check the page your buyer lands on after paying, where they get their tickets. Switch on Enable mobile wallet passes to add Apple Wallet and Google Wallet to it.

6. Design your tickets
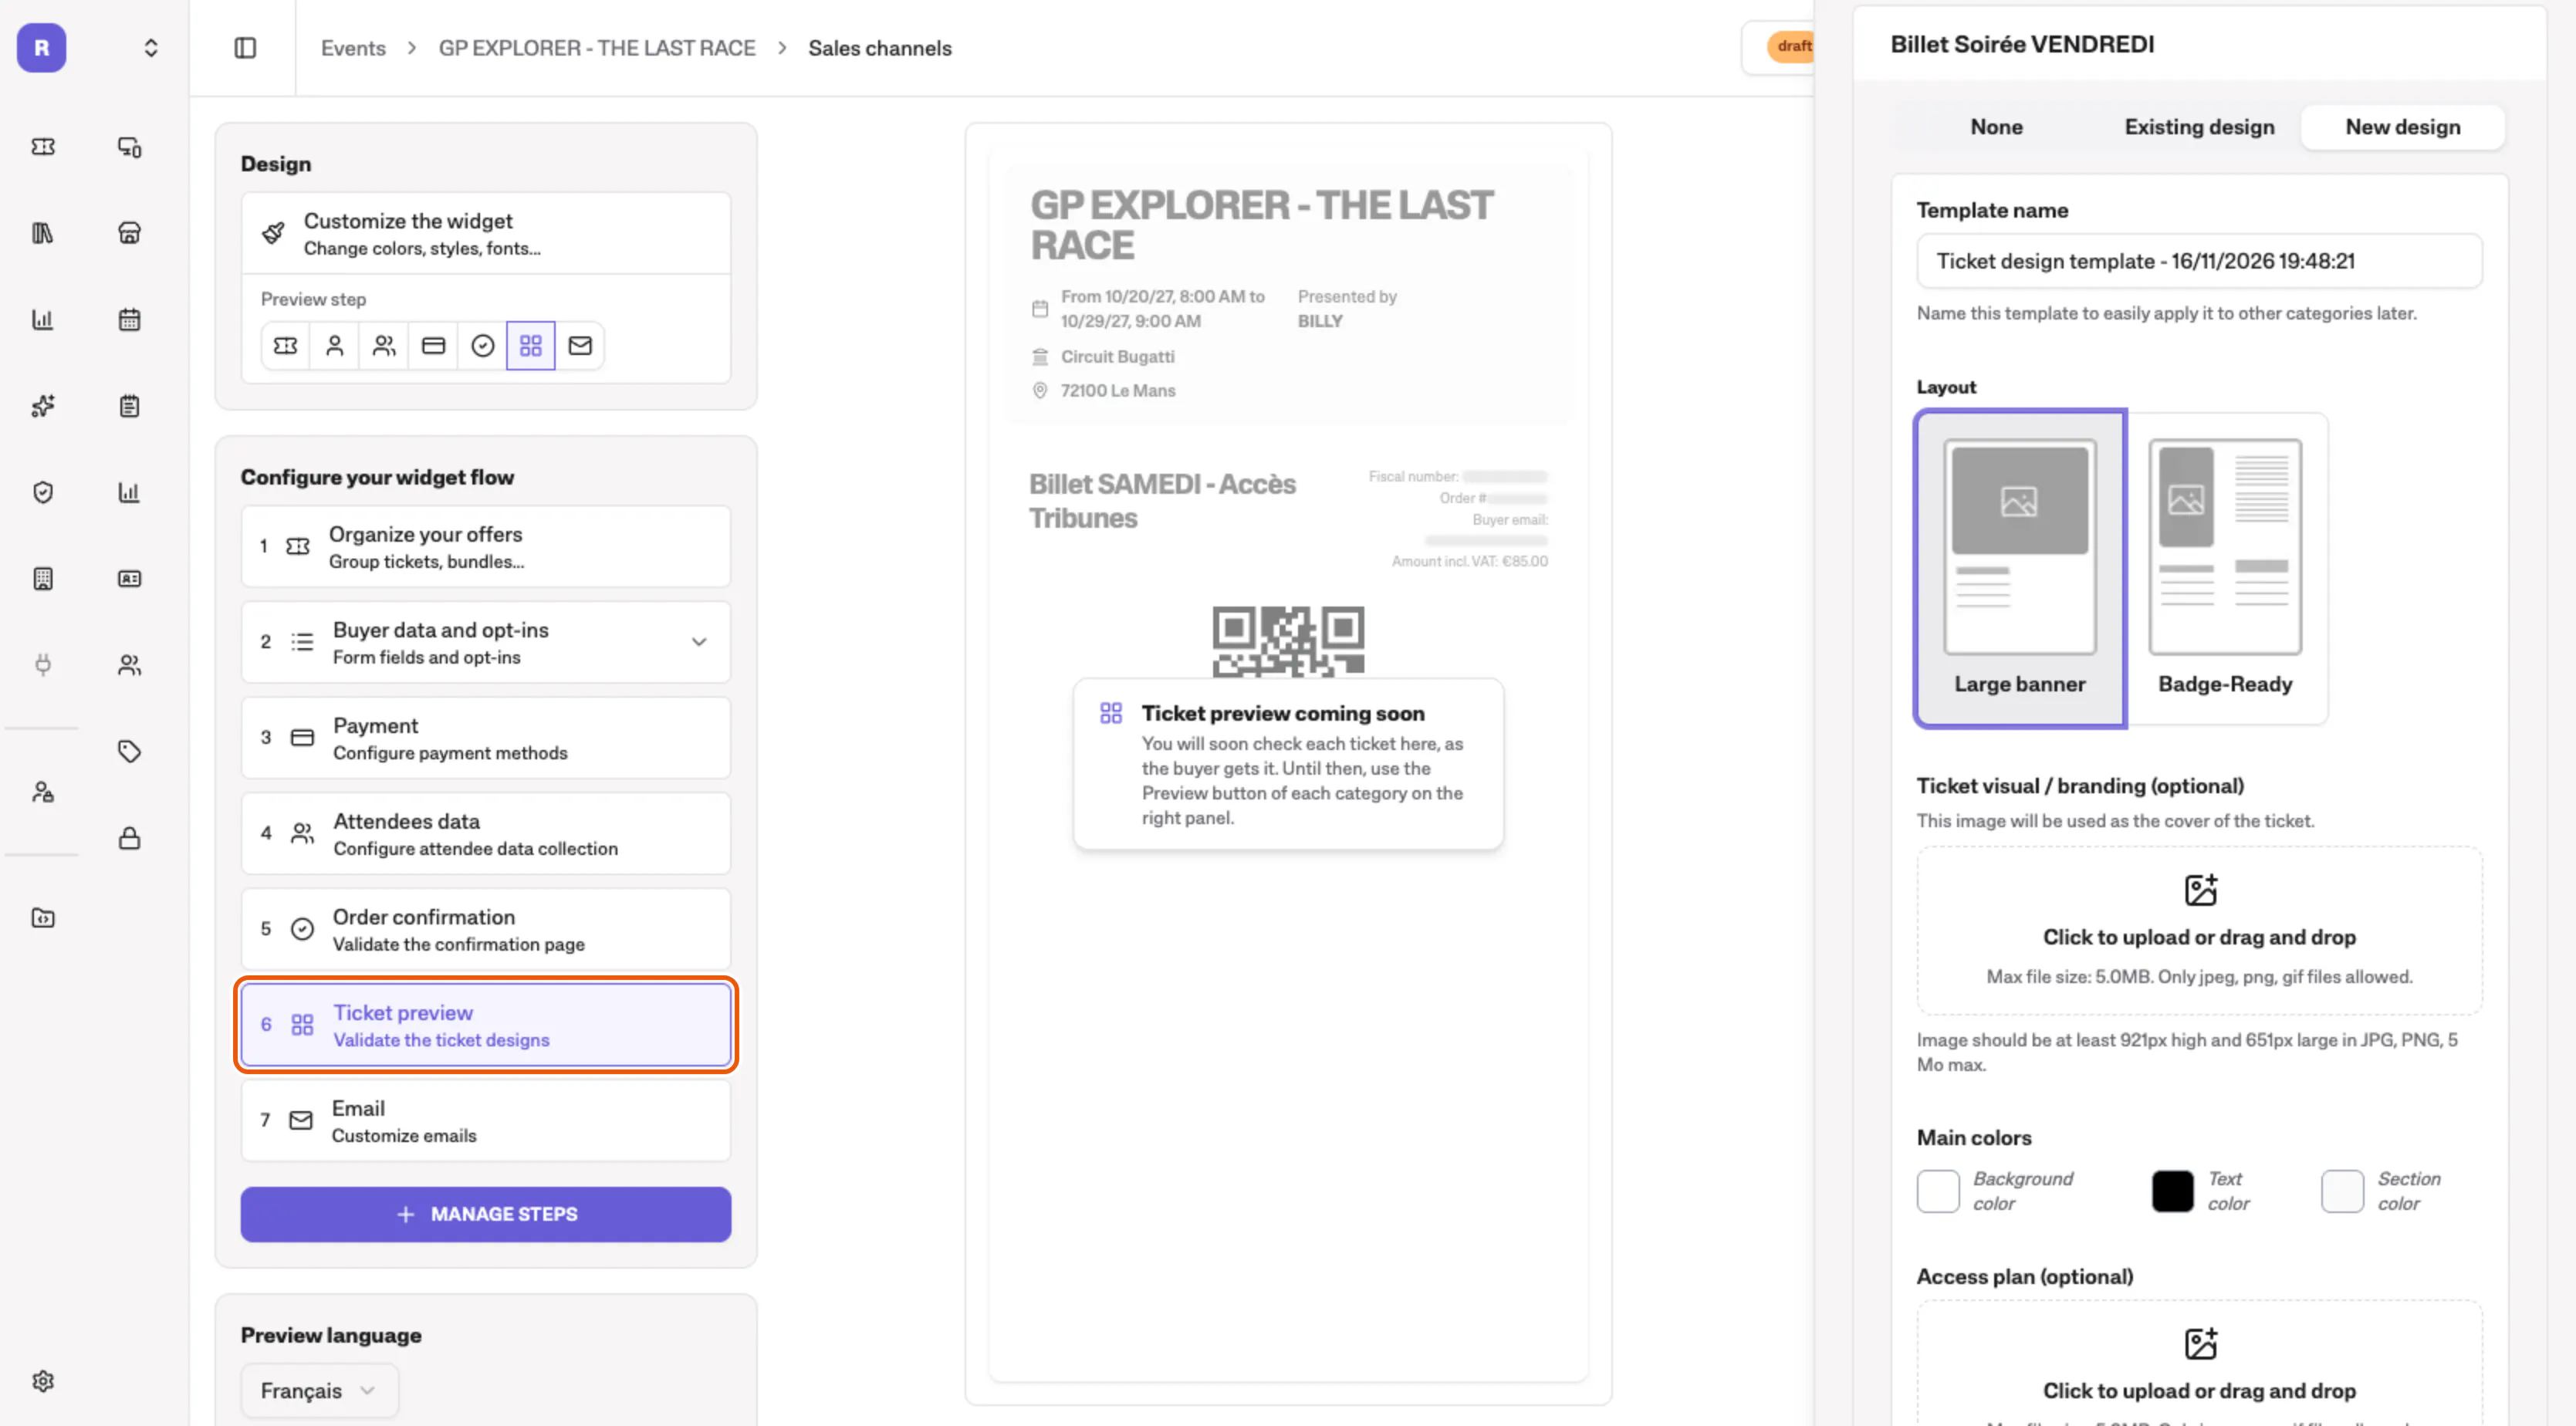
Click Ticket preview ⑥. For each ticket category, pick an existing design or create a new one, then click Preview to check the ticket. See Ticket Design Templates.

7. Design your confirmation email
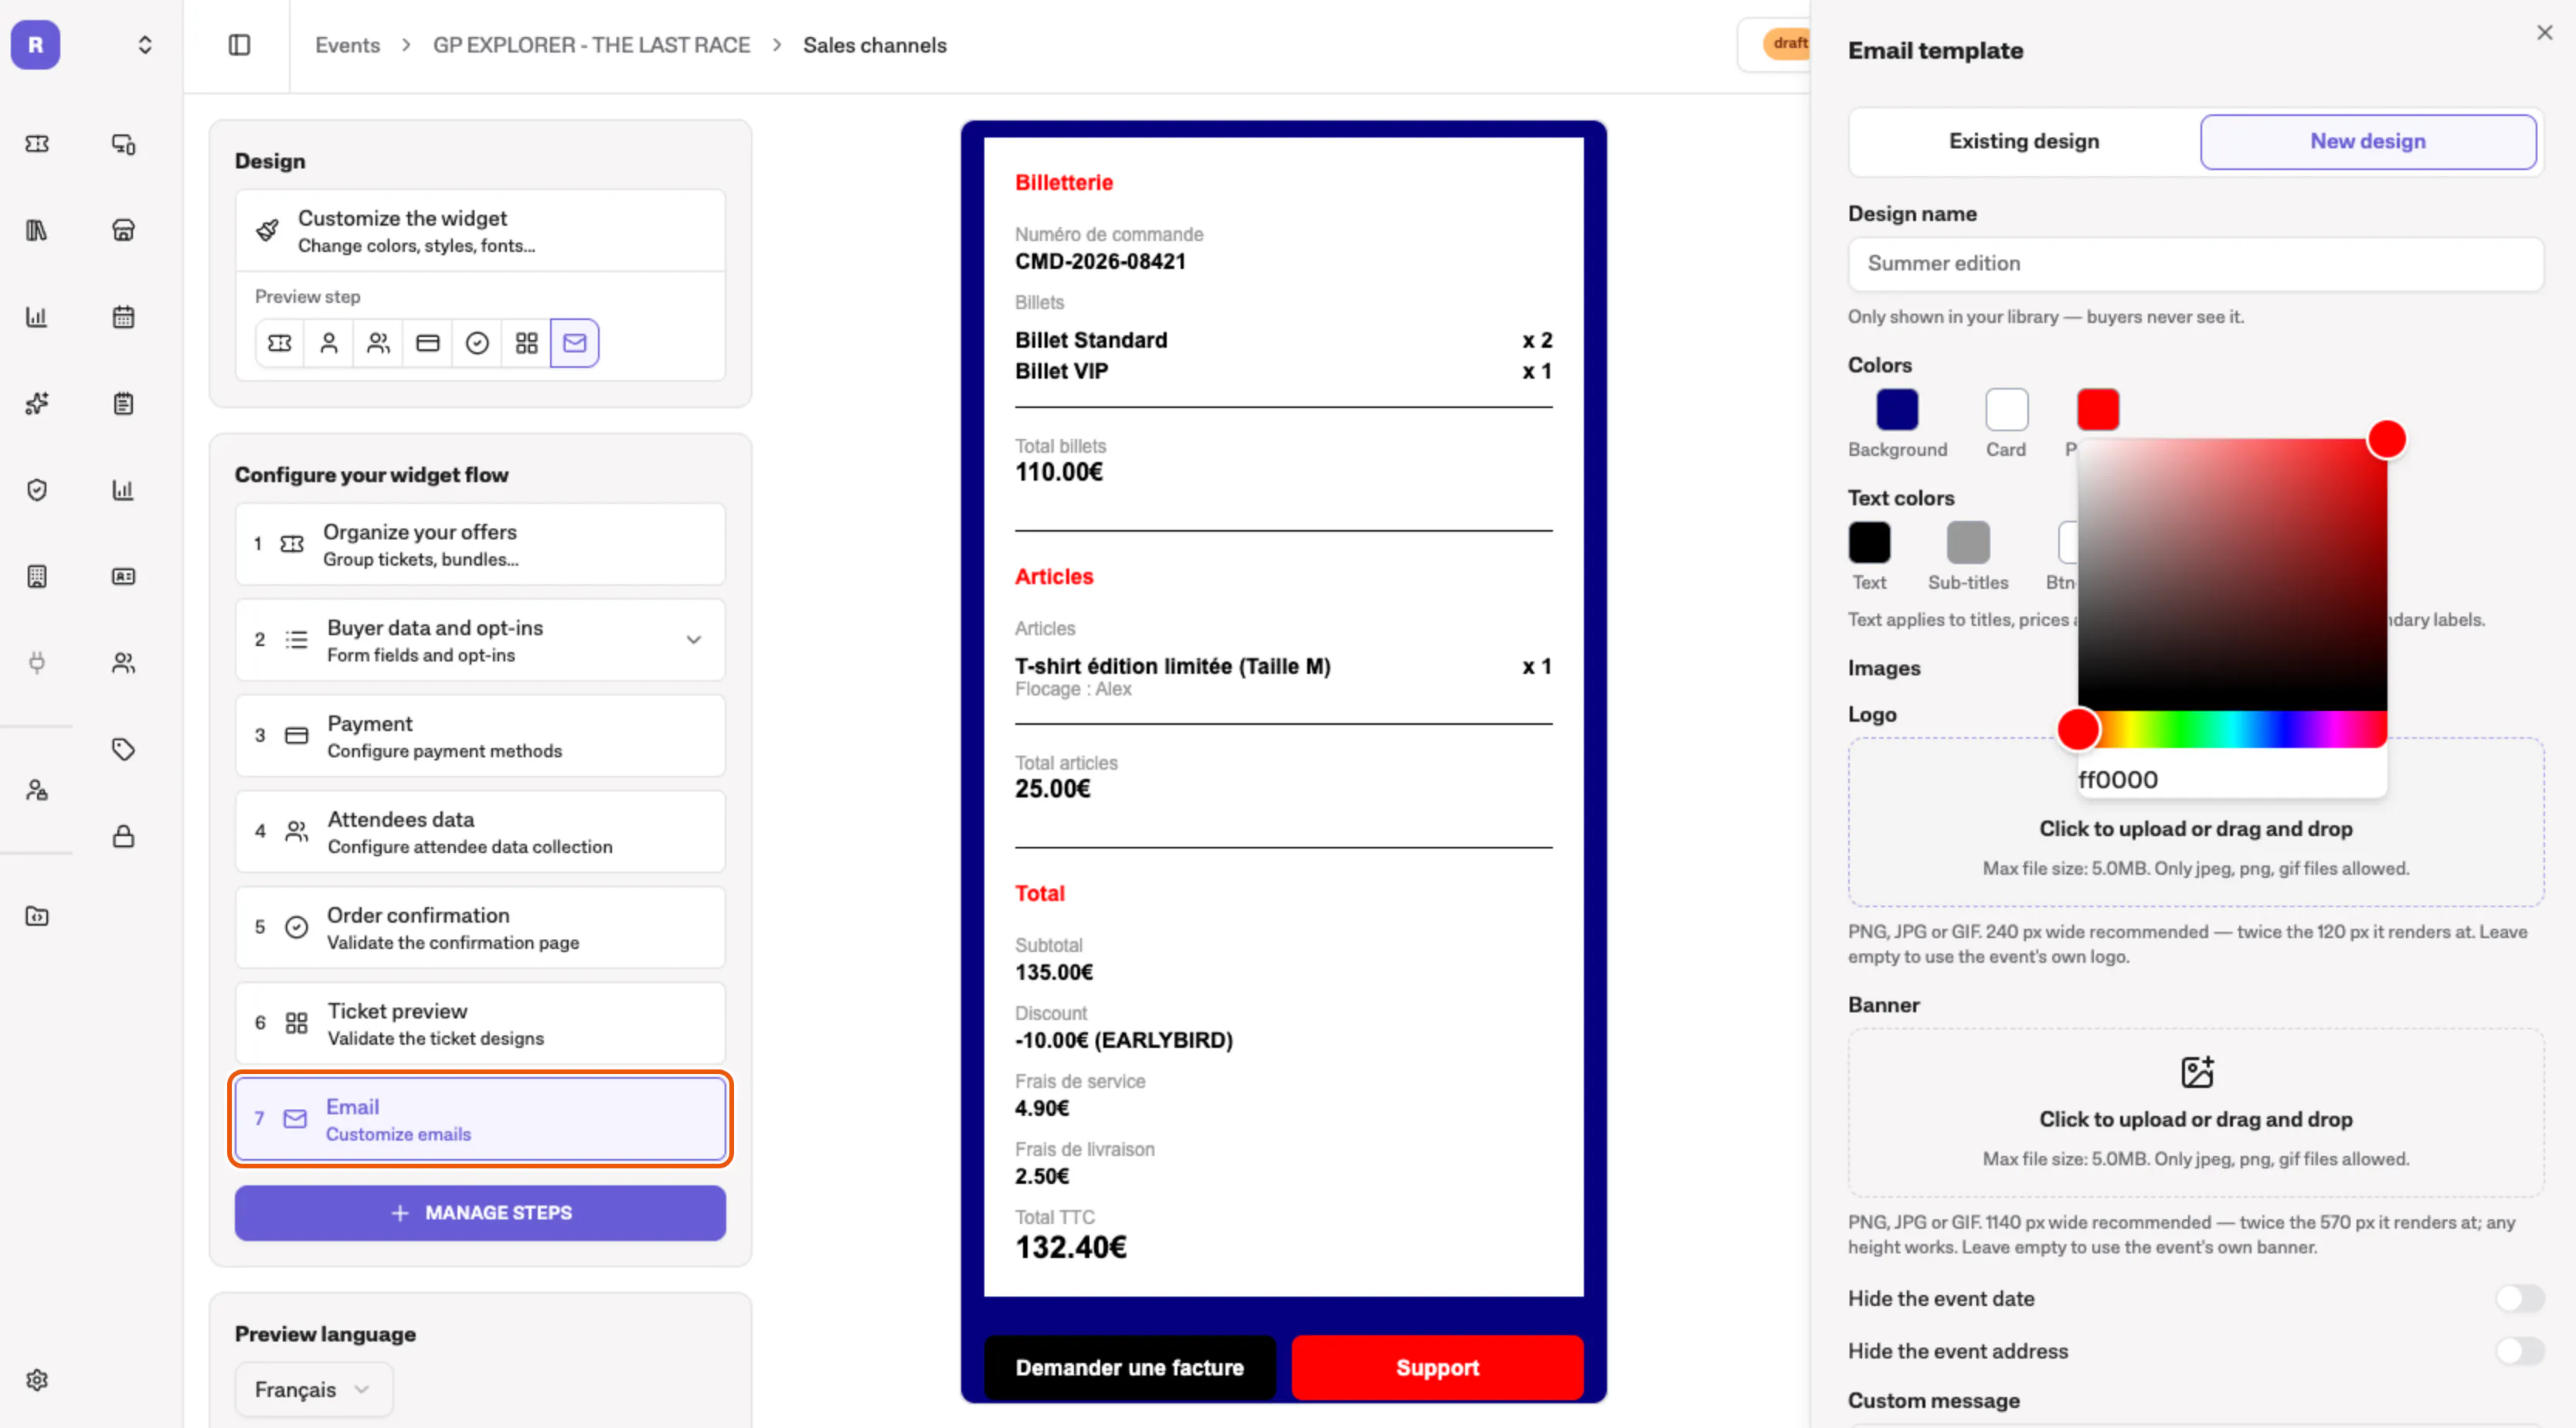
Click Email ⑦ to choose the design of the email your buyer receives with their order. Pick an existing design or create a new one with your colors, your logo and your banner: the preview shows the email as you go.

Customize your widget with your own branding
Click Customize the widget, above the steps. Pick a base theme and a block style, upload your logo and your cover: the preview changes as you go.
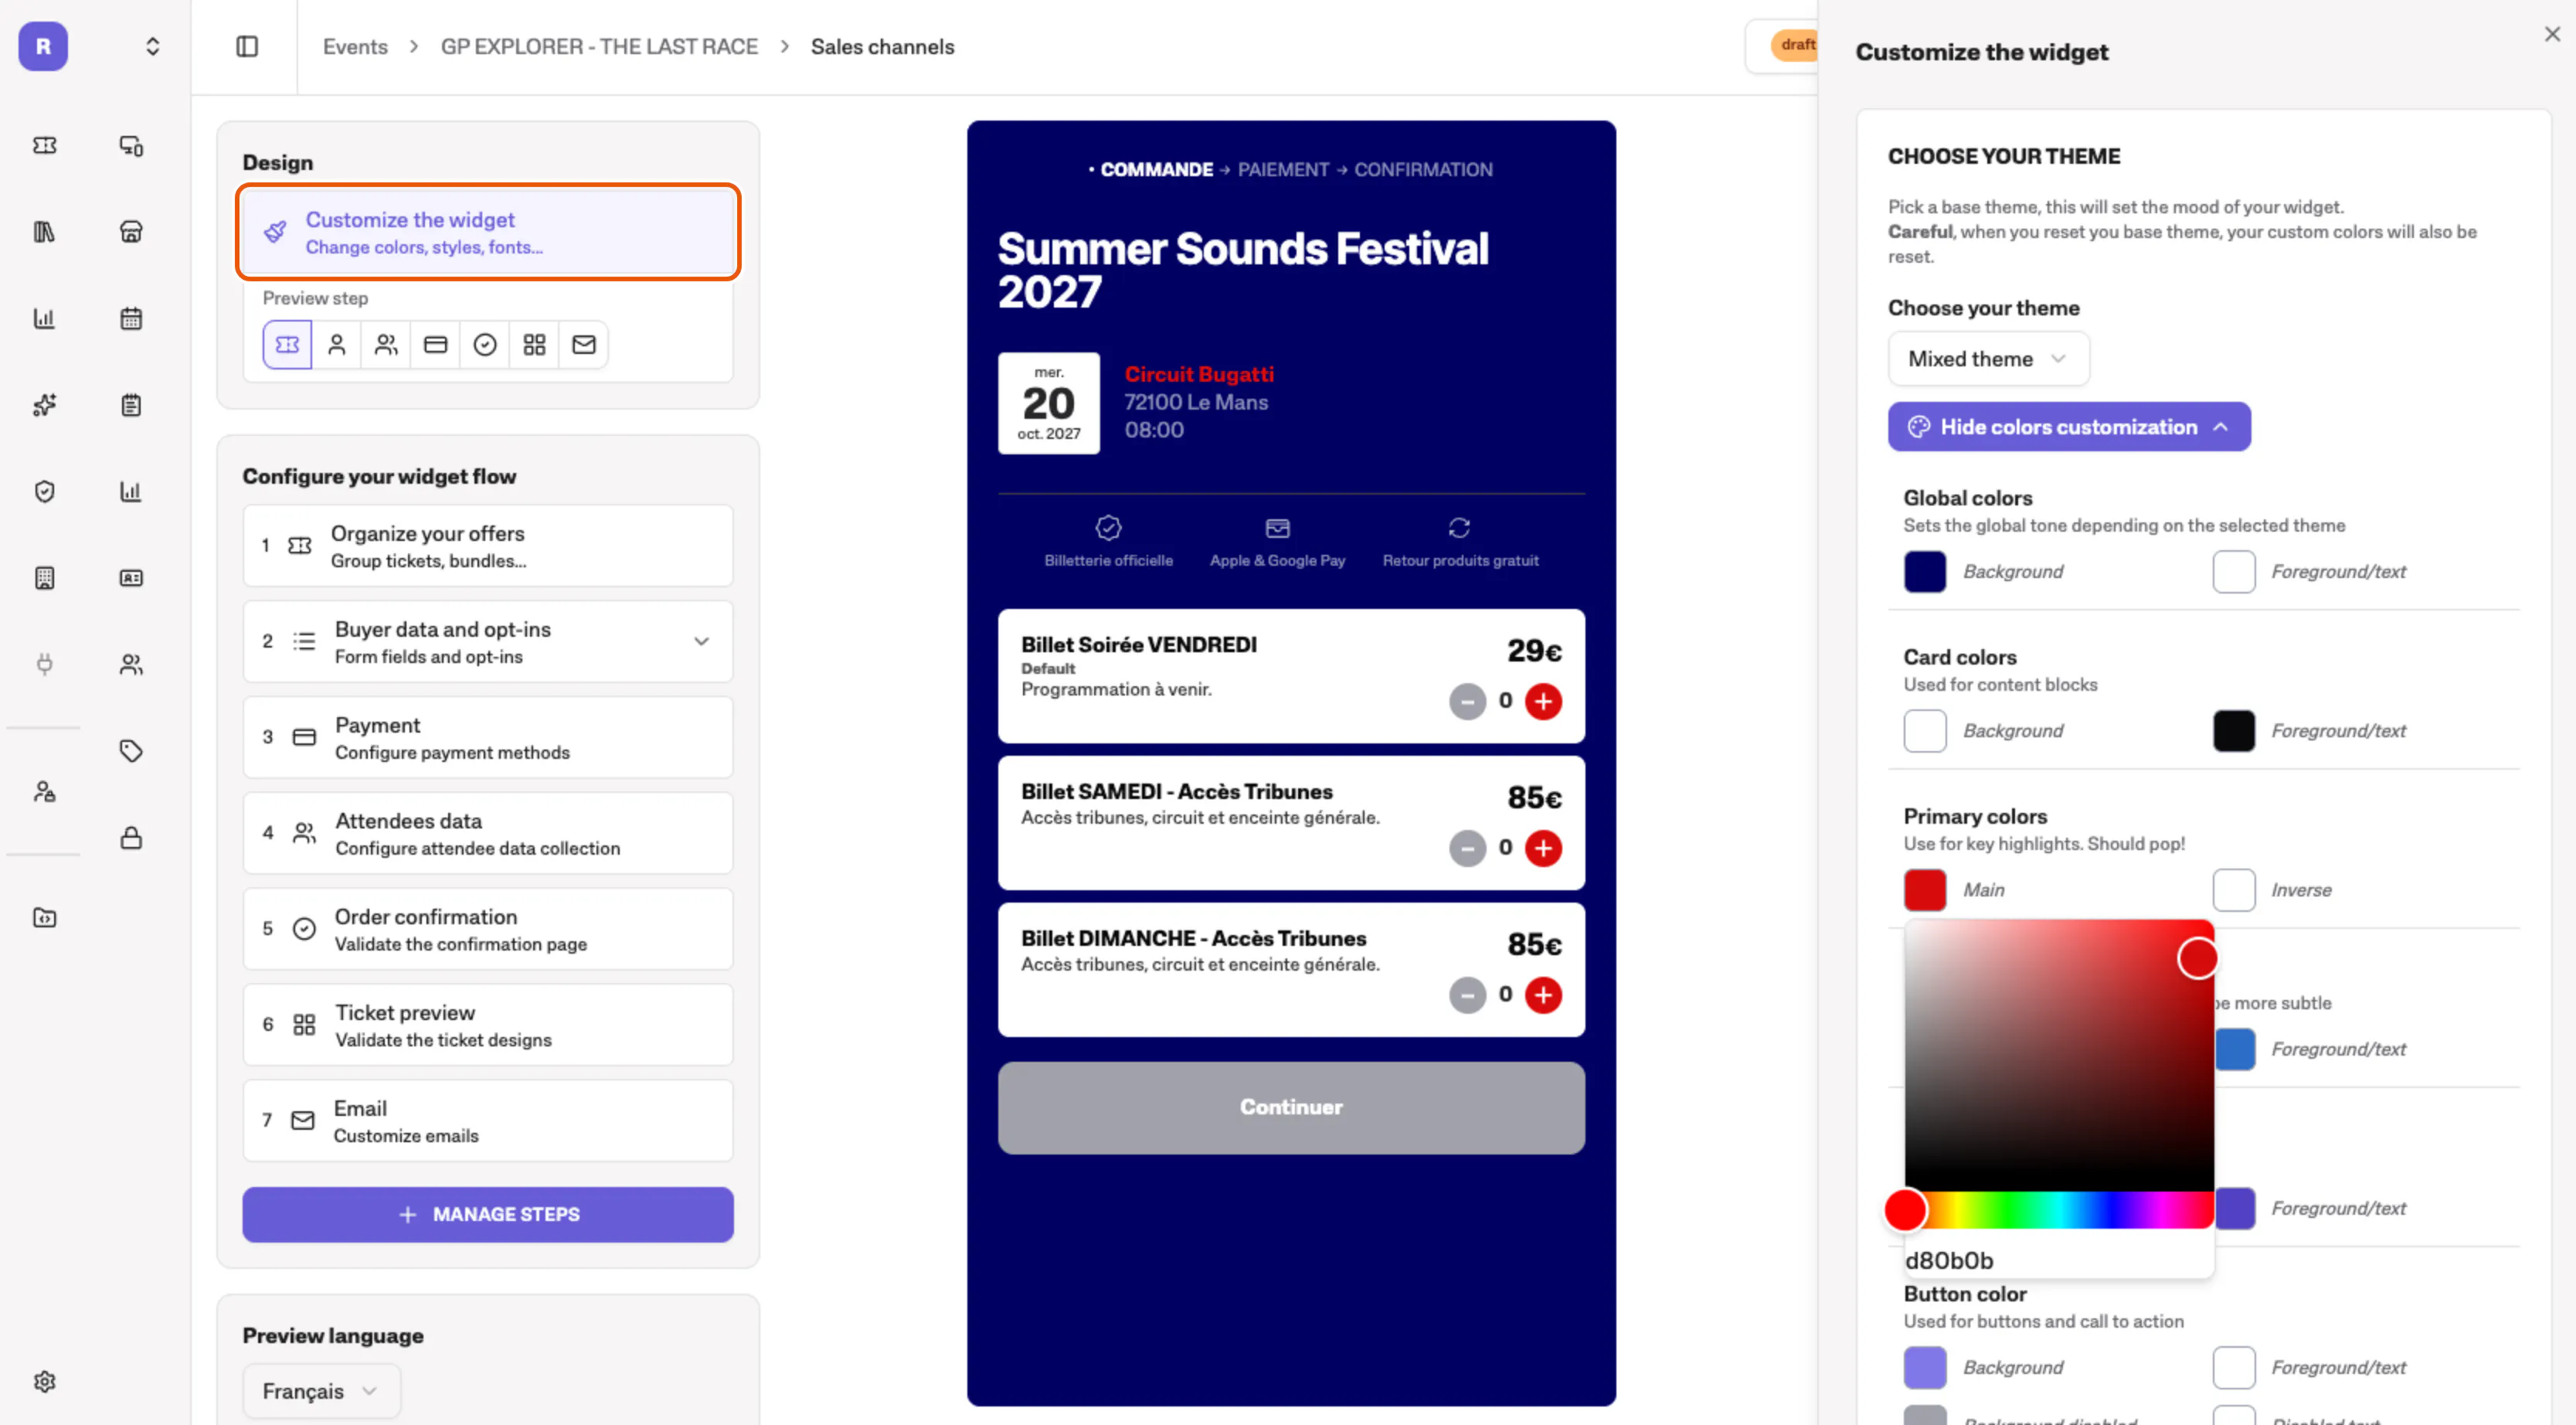

Need more steps? Manage Steps adds optional ones to the journey, such as access codes, cancellation protection or donations.
What happens next?
Once your sales channel looks right, publish it.