
Collect Attendees’ Information
Collecting the right attendee information is key to ensuring smooth check-ins, clear communication, and a great on-site experience for everyone attending your event.
Collecting the right attendee information is key to ensuring smooth check-ins, clear communication, and a great on-site experience for everyone attending your event.
While buyers are the people who make the purchase, attendees are the people actually coming to the event.
For example, one buyer might purchase three tickets, one for themselves and two for friends. Each attendee can have their own personalized details.
With Billy, you can easily decide what information to collect for each attendee during checkout.
This helps you:
- ✅ Streamline check-in and access control on event day.
- 🎯 Gather useful data about your audience (like age, ZipCode, Company Role …).
- 💬 Personalize communication before and after the event depending on which type of tickets /category.
By customizing attendee data collection, you ensure that each ticket is accurately assigned to the right person, while keeping the buying experience fast and intuitive for your fans.
⚙️ How to Configure Attendees Information
- Go to Events in Billy Studio
- Select the event you want to modify
- Navigate to Sales Channels → Configure your widget flow → Attendees Data
Manage Attendes Form Overview
You will be presented with three options, to configure attendee data collection for each ticket category in this sales channel.
For each category: you will be able to ask for different attendees data!
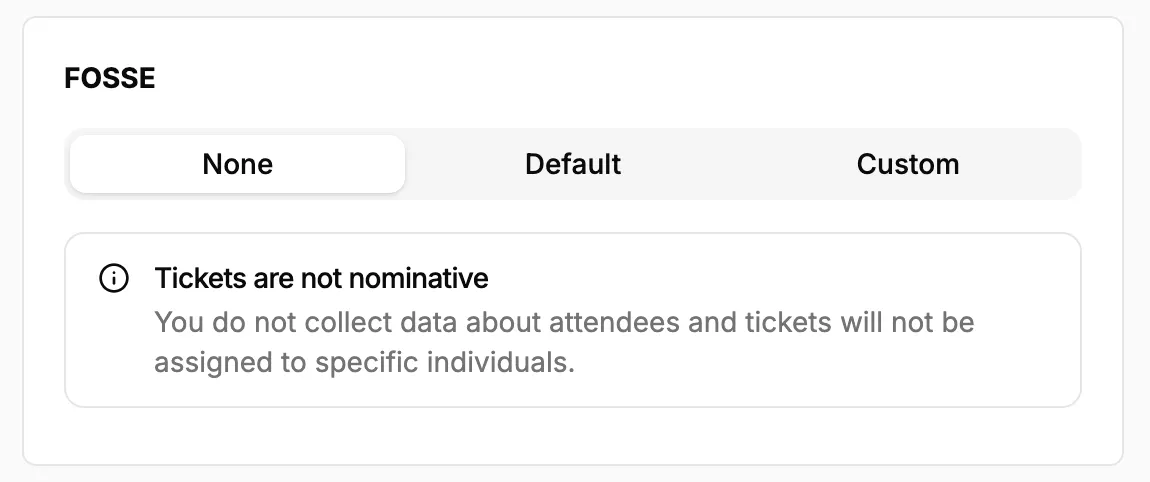

None
Means that tickets are not nominative: You do not collect data about attendees and tickets will not be assigned to specific individuals.
Default
By default, you will collect first name and last name for each attendee
Custom
If you choose the Custom option, you can decide exactly which information to collect from attendees, beyond the default first name and last name.
This allows you to tailor your form depending on your event needs (for example, a VIP ticket might require more details than a general admission ticket).
When you click Custom, you'll see the Add Form Field menu.
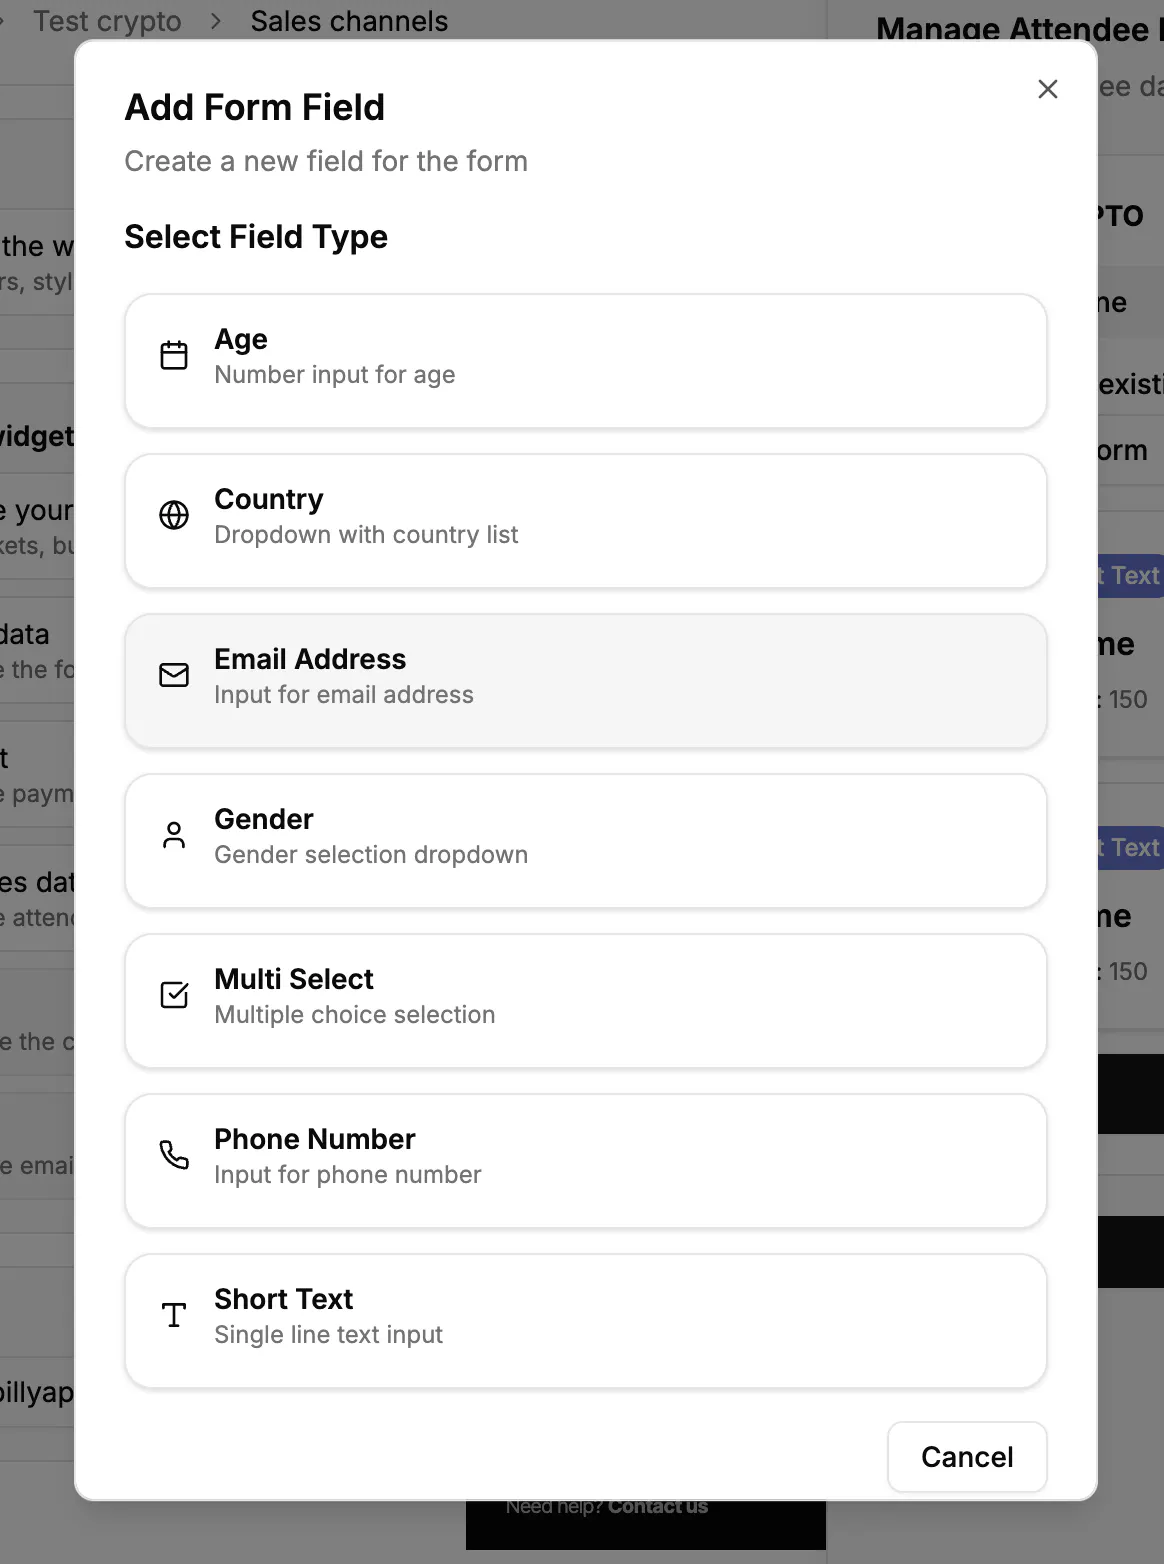

Here, you can select the type of information you'd like to collect. Common contact fields — like Phone, Birth date, and Address — come as ready-made presets that pre-fill the right type and settings, so you just add them:
| Field | Description | Example use |
|---|---|---|
| Age | Number input | Check attendee age for restricted events (e.g. 18+). |
| Country | Dropdown list | Know where your audience is coming from. |
| Email Address | Text input | Collect contact info for follow-ups or confirmations. |
| Gender | Dropdown list | Optional demographic insights. |
| Multi Select | Multiple choice selection | Ask how attendees heard about your event (e.g. social media, newsletter). |
| Phone Number | Number input | Collect phone numbers for last-minute updates or logistics. |
| Short Text | Single-line text field | Open question like "What's your favorite artist?" or "Who invited you?" |
| Text | Single- or multi-line text field | A free-text note or open question. |
| Number | Numeric input | Party size, age, or any count. |
| Date | Date picker | Birth date or a travel date. |
| URL | Link input | Portfolio, company site, or social link. |
| Boolean | Yes/no toggle | A simple opt-in or consent question. |
| Single Select | Choose one option | Meal preference or t-shirt size. |
| Address | Postal address (line 1/2, city, postal code, country) | Shipping or billing address. |
👀 Once you've selected and added the fields you need, click Save. These fields will automatically appear during checkout for attendees to fill in.
Best Practices
- Collect only the information you need, fewer fields = faster checkout.
- Use custom fields to learn about your audience (e.g. country or age insights).
- For VIP or professional events, ask for details that improve logistics (e.g. phone number).
- Avoid making non-essential questions mandatory to keep conversion high.
🛒 Checkout Experience
Once you've set up your attendees' fields, here's what fans will actually see during checkout:
- Any extra fields you've added (Age, Country, Gender, etc.) will appear directly in the form.
- Attendees must complete all required fields before they can finalize their purchase.
- Optional fields will show up, but buyers can skip them.
📂 Attendees Data is Stored in Back Office
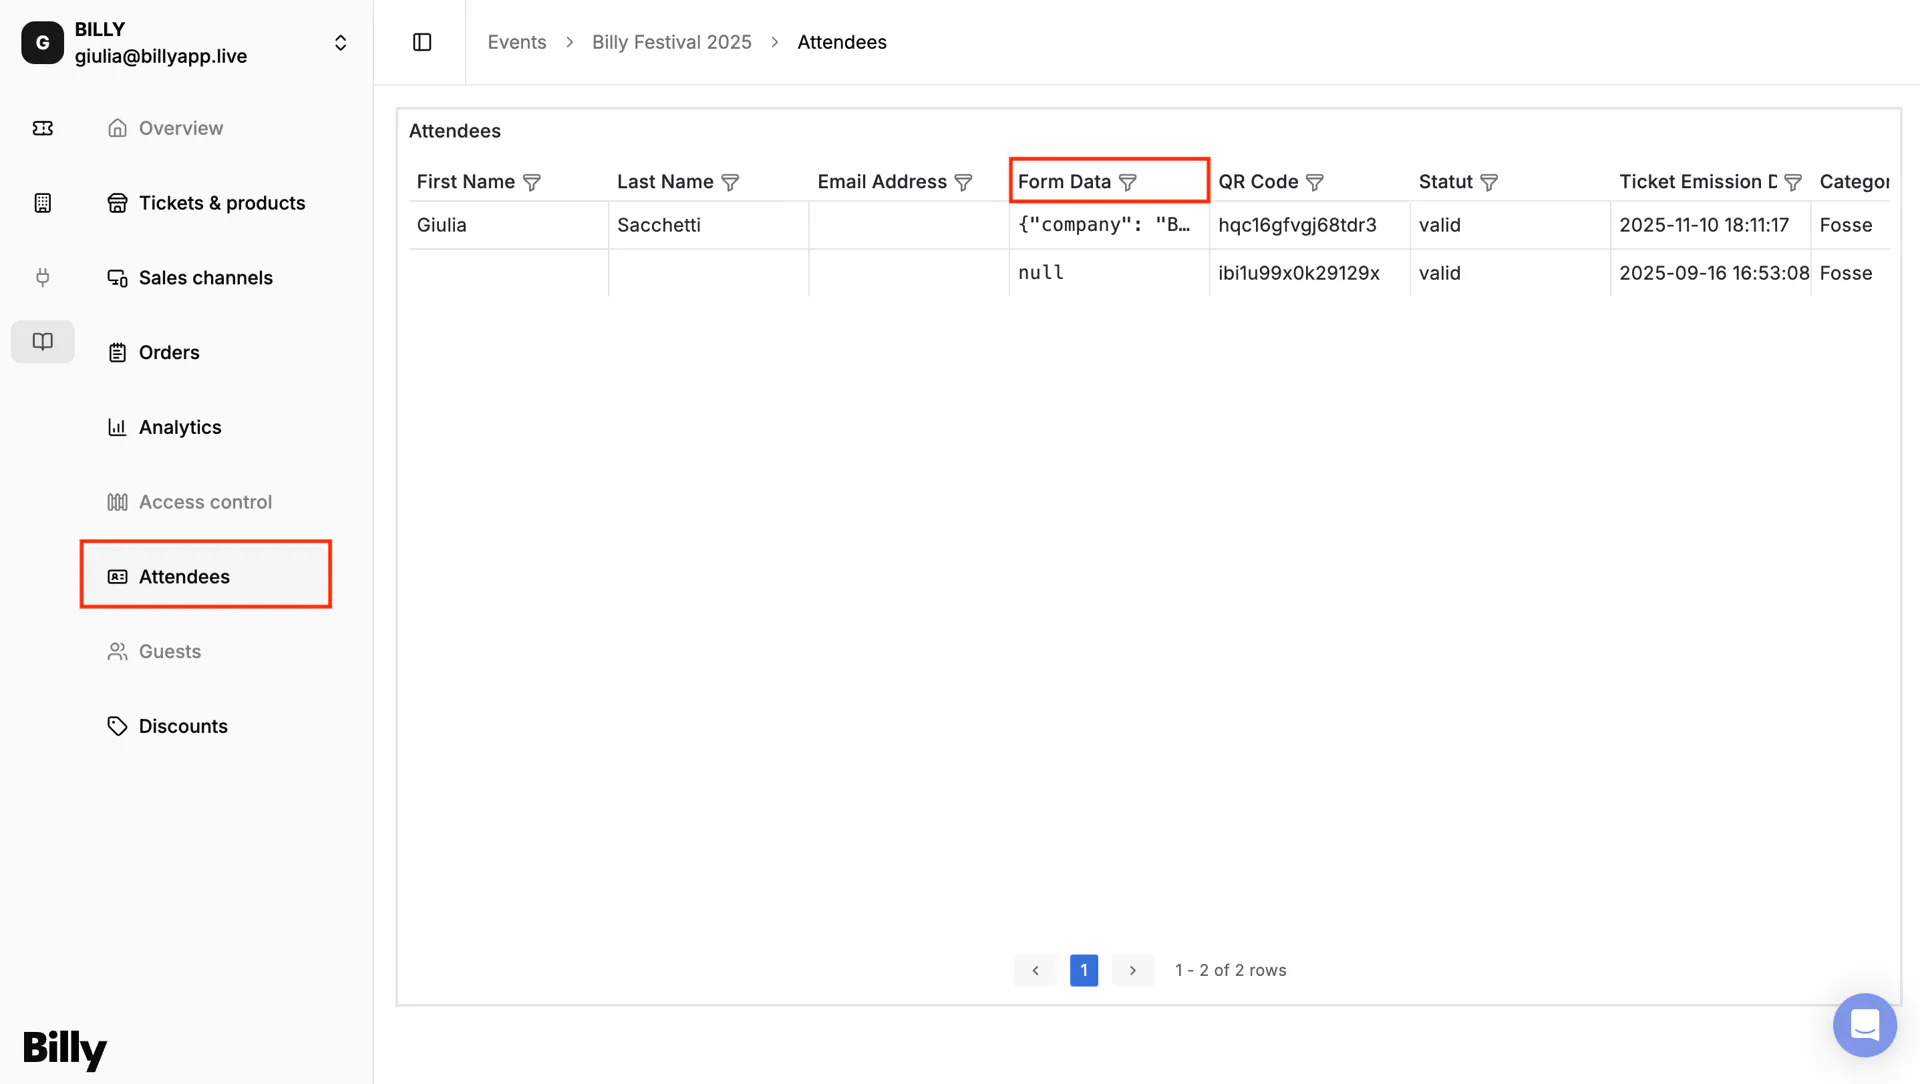
All attendees data collected during checkout is stored securely in your back office.
You can access it anytime under Attendees → Form Data, where you'll see all the answers submitted by your buyers and attendees.

⚠️ Unsupported Features
To avoid confusion, here's what is not supported:
- ❌ Conditional questions or branching logic (questions that depend on previous answers).
- ❌ Disabling the mandatory fields (First Name, Last Name) - these are always collected.
🎉 Wrapping Up
By customising your attendees data form, you get exactly the information you need: nothing more, nothing less.
It's a simple way to better understand your audience, improve communication, and make your event operations smoother.
👉 All your data stays organized, secure, and ready to use directly inside Billy Studio.