
Publish your sales channel
Take your sales channel live, run several channels for the same event and find your Sales Channel ID.
Once you've created and customized your sales channel, you need to publish it to start selling your offers (tickets, products, bundles, experiences).
Publishing makes the sales channel live and visible to people with access to your direct URL. You can still edit pricing, offers, and widget settings at any time.
How to publish a sales channel
Go to Sales channels in Billy's event studio.
Select the channel you want to publish.
Click Publish sales channel in the top-right corner.
Your channel is now live and ready to sell tickets. Sharing settings will appear.
Once published, analytics and sales reports will start tracking data per channel (views, purchases…).
You can now use the published link or embed the widget on your website to reach your audience directly and start selling. Have a look at Embed our Checkout on your website to understand how to embed the widget on your website.
Using multiple sales channels
With Billy's event platform, you can create and use multiple sales channels for the same event.
For instance, if you want to create a sales channel for your website and another for partners. Sales channels can be similar to private shops. It's also great for segmenting audiences and tracking performance by source.
Examples
- One channel for your website, another for partners or social media.
- Limited-time promos (e.g. Black Friday, Valentine's Day): spin up a dedicated sales channel that shows only specific offers, without touching your main ticket setup.
We're excited to see how you use them, surprise us!
Create an additional sales channel
Go to Sales channels in Billy's event studio.
Click the current channel name (top-right corner).
Select Create new.
Configure your channel and publish it when ready.


Where to find your Sales Channel ID
Publish your sales channel first
Important: you will NOT see a Sales Channel ID until your sales channel is published. If it's still in draft, the link and ID won't exist yet.
Open your sales channels
- Go to Studio → Event → Sales Channels
- Select the channel you want to use
- Scroll down to the bottom and click the Share button
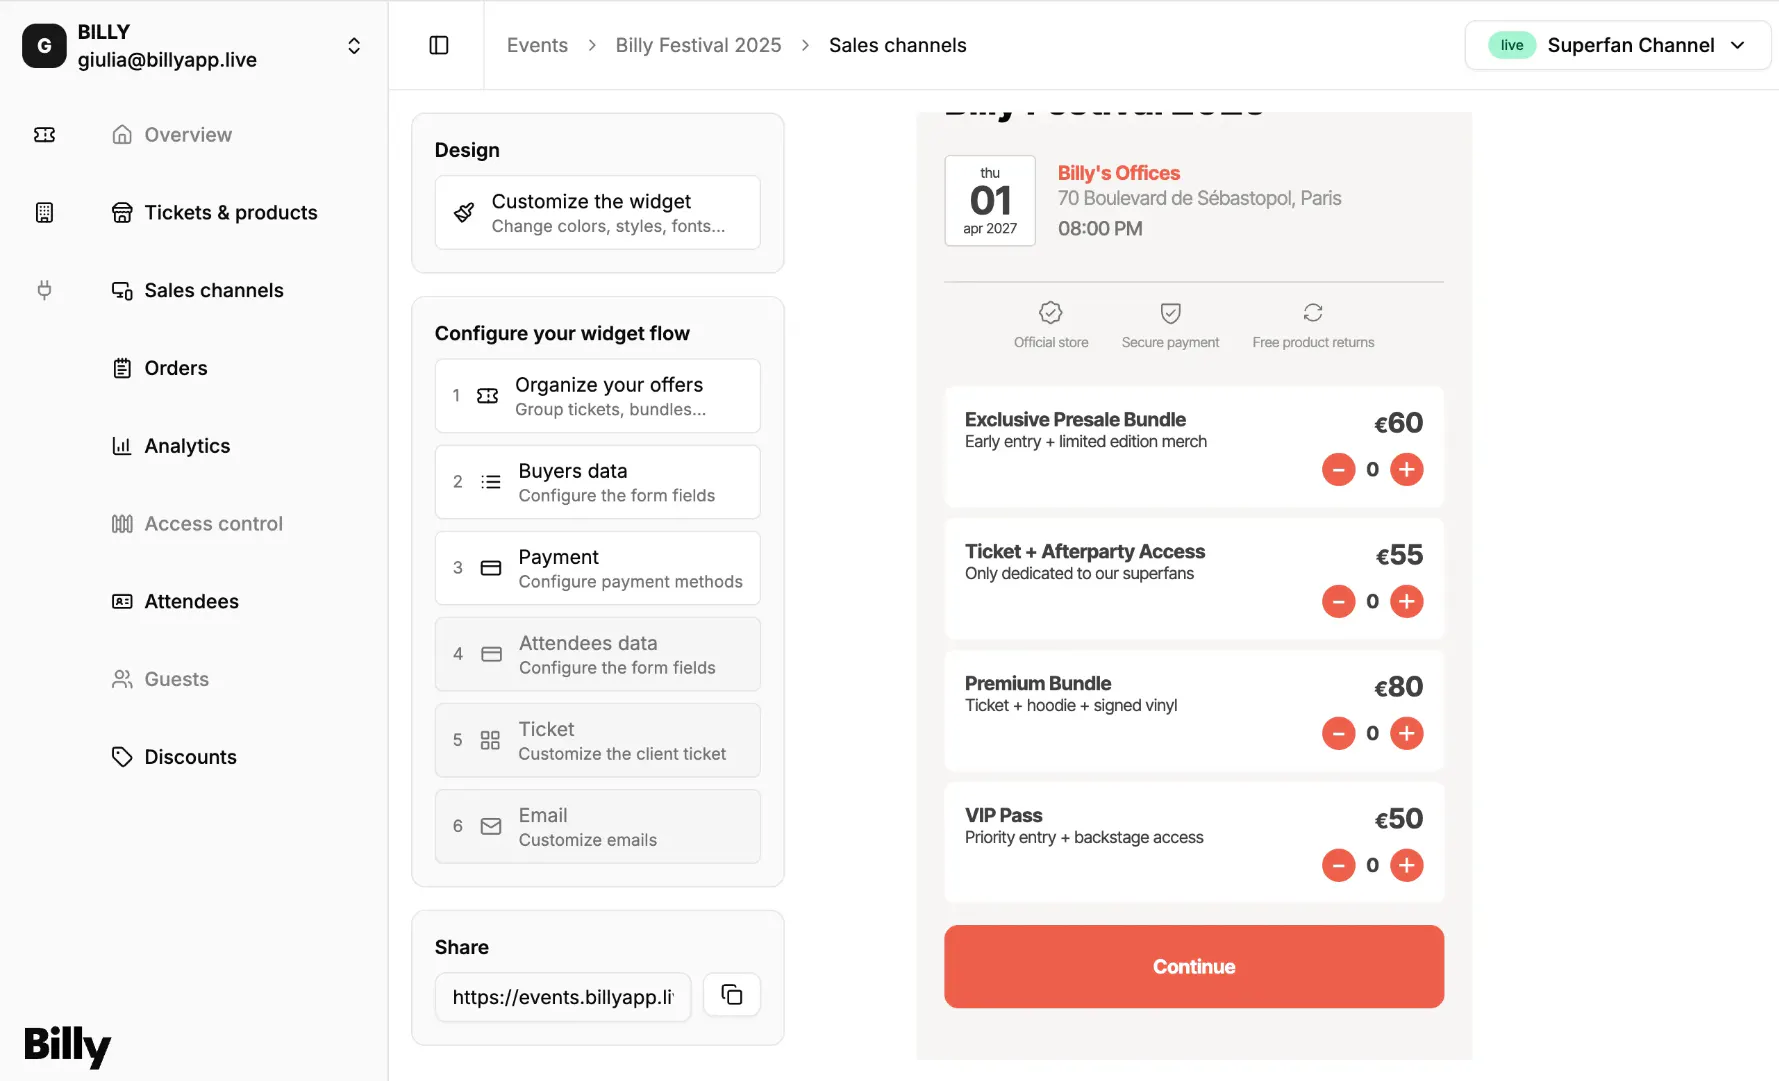

Extract your Sales Channel ID
The Sales Channel ID is simply the long code at the end of the URL. For example, in https://events.billyapp.live/12b8b09a-eb23-4d65-ba92-f6059cb18648, 12b8b09a-eb23-4d65-ba92-f6059cb18648 is your Sales Channel ID.


Tips
- Schedule your launch: set an opening date (and time) to automatically open sales. Until then, customers won't be able to purchase.
- Limit the sales window: set a closing date (and time) to automatically stop sales. After that, checkout is disabled for this channel.
You can edit these dates anytime. Times follow your event's timezone.