
Embed our Checkout on your website
Add Billy's checkout and registration flow to your own site in a few minutes, as a popup or a full event page.
Add Billy's checkout/registration flow to your site in minutes.
Quick start
Open your event's Distribution channels page.
Click Embed widget.
Copy the auto-generated code snippet.
In your site or blog, open the page's HTML editor.
Paste the snippet where you want the checkout to appear (into the source HTML at the desired location).
Save or publish your changes.
Congrats! Your Billy checkout widget is now live on your site.
Note: you can embed the widget on all platforms (Webflow, WordPress, Shopify, Wix, etc.) and custom sites.
Emails are not supported: email clients block embedded code.


The exact process of adding the embed code depends on your website platform. For example, on WordPress, you can add a Custom HTML block and paste the code there. Basically, there are 2 types of embed you can configure:
- Embed as a Popup — users click a button (CTA) on your website and the checkout/registration flow appears in a popup.
- Embed Event Page — you embed the checkout/registration flow directly on a specific page of your site, which shows information about the event and lets visitors check out right there.
Platform tips
- WordPress: add a Custom HTML block and paste the code.
- Squarespace: insert a Code block and paste the code.
- Wix: use the HTML embed element and paste the code.
- Webflow: add an Embed component and paste the code.
- Shopify: add a Custom Liquid/HTML section (or edit the theme) and paste the code.
For step-by-step, platform-specific guides, see:
- Custom website: How to integrate Billy's widget on my website?
- Webflow: How to embed Billy's checkout widget for seamless sales on your Webflow website
- WordPress: How to embed Billy's checkout widget for seamless sales on your WordPress website
- WordPress with Elementor: How to embed Billy's widget on WordPress using Elementor
Troubleshooting (quick checks)
- Nothing shows? Make sure you pasted the snippet into the HTML/source view, not a visual editor.
- Popup not opening? Confirm your button's selector matches the one referenced in the snippet.
- Still stuck? Re-copy a fresh snippet from Distribution channels → Embed widget and try again.
Where to find your Sales Channel ID
Publish your sales channel first
Important: you will NOT see a Sales Channel ID until your sales channel is published. If it's still in draft, the link and ID won't exist yet.
Open your sales channels
- Go to Studio → Event → Sales Channels
- Select the channel you want to use
- Scroll down to the bottom and click the Share button
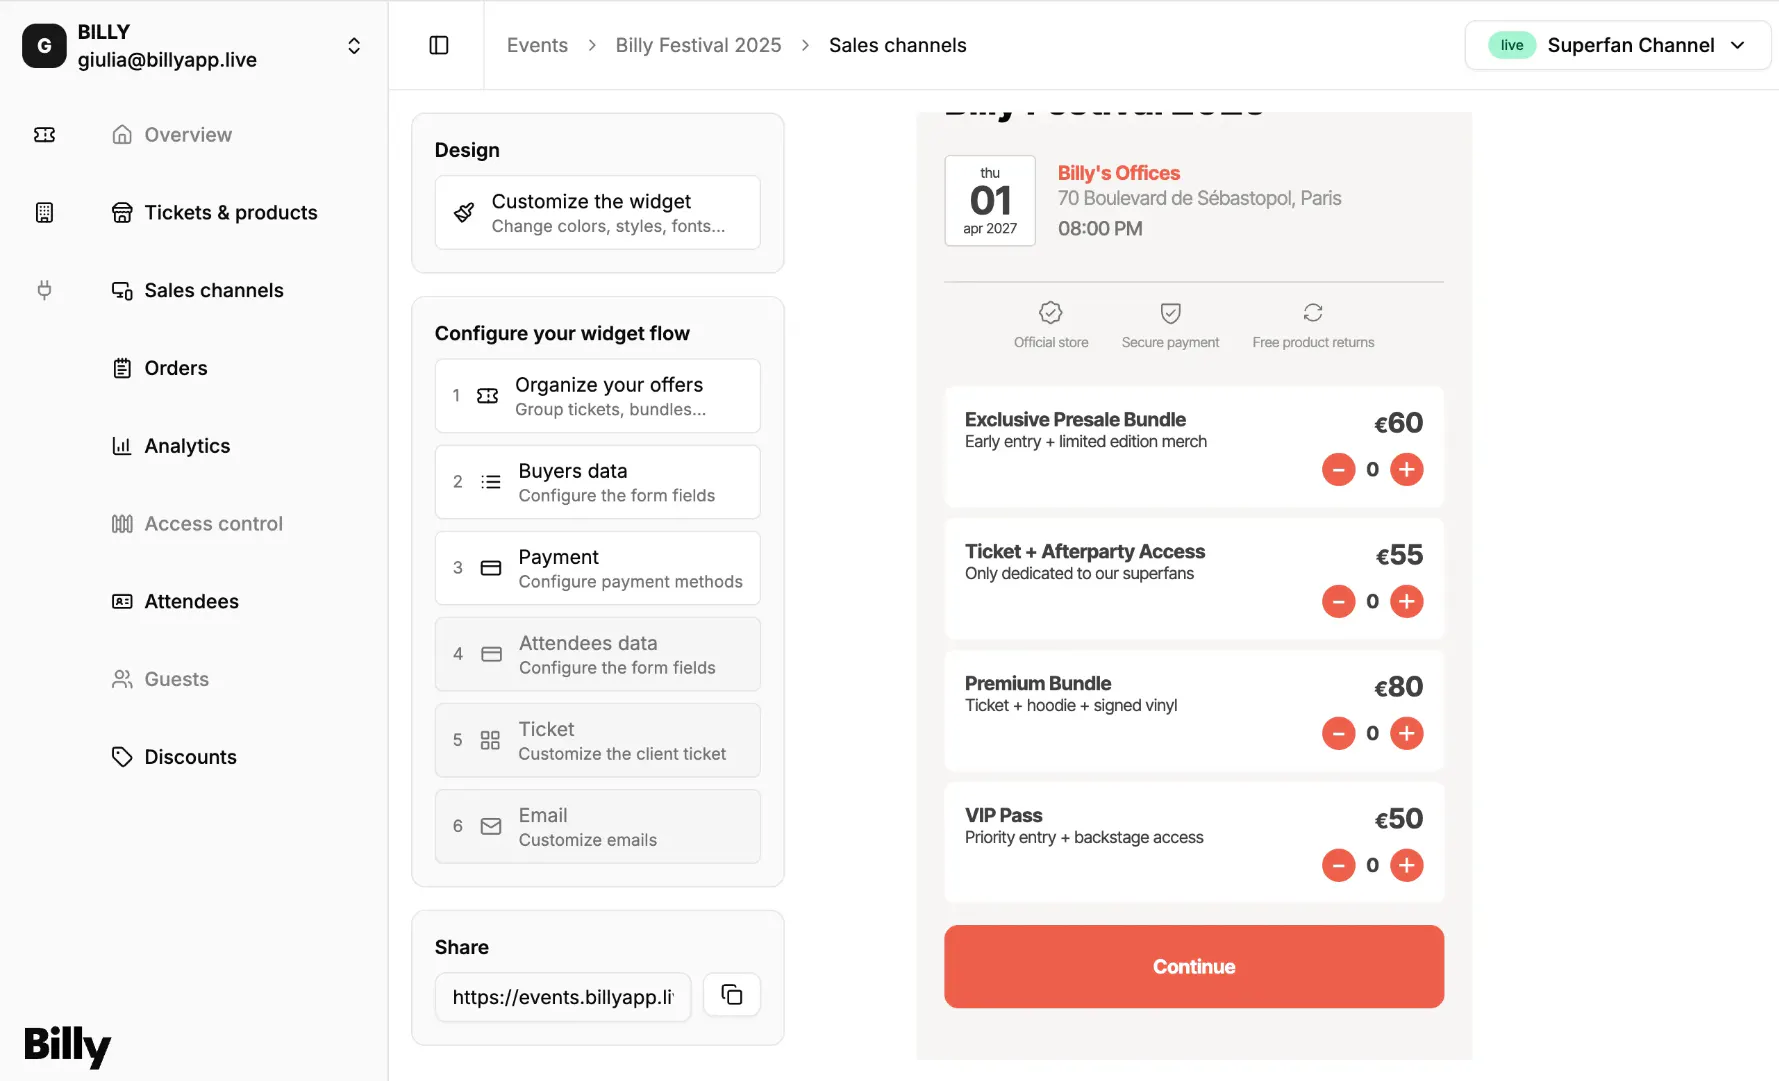

Extract your Sales Channel ID
The Sales Channel ID is simply the long code at the end of the URL. For example, in https://events.billyapp.live/12b8b09a-eb23-4d65-ba92-f6059cb18648, 12b8b09a-eb23-4d65-ba92-f6059cb18648 is your Sales Channel ID.

