Advertising tracking pixels
Declare your Meta, Snapchat and Google Ads pixels once for your organization so every sales page reports visits and purchases to your campaigns.
Use Tracking to declare the advertising pixels of your organization so your campaigns can measure the visits and purchases they generate. A pixel is declared once and is then rendered on every sales page of every event your organization owns. This is useful when you run paid acquisition, when your agency needs conversion data, or when you want to build retargeting audiences from your ticket buyers.
How it works
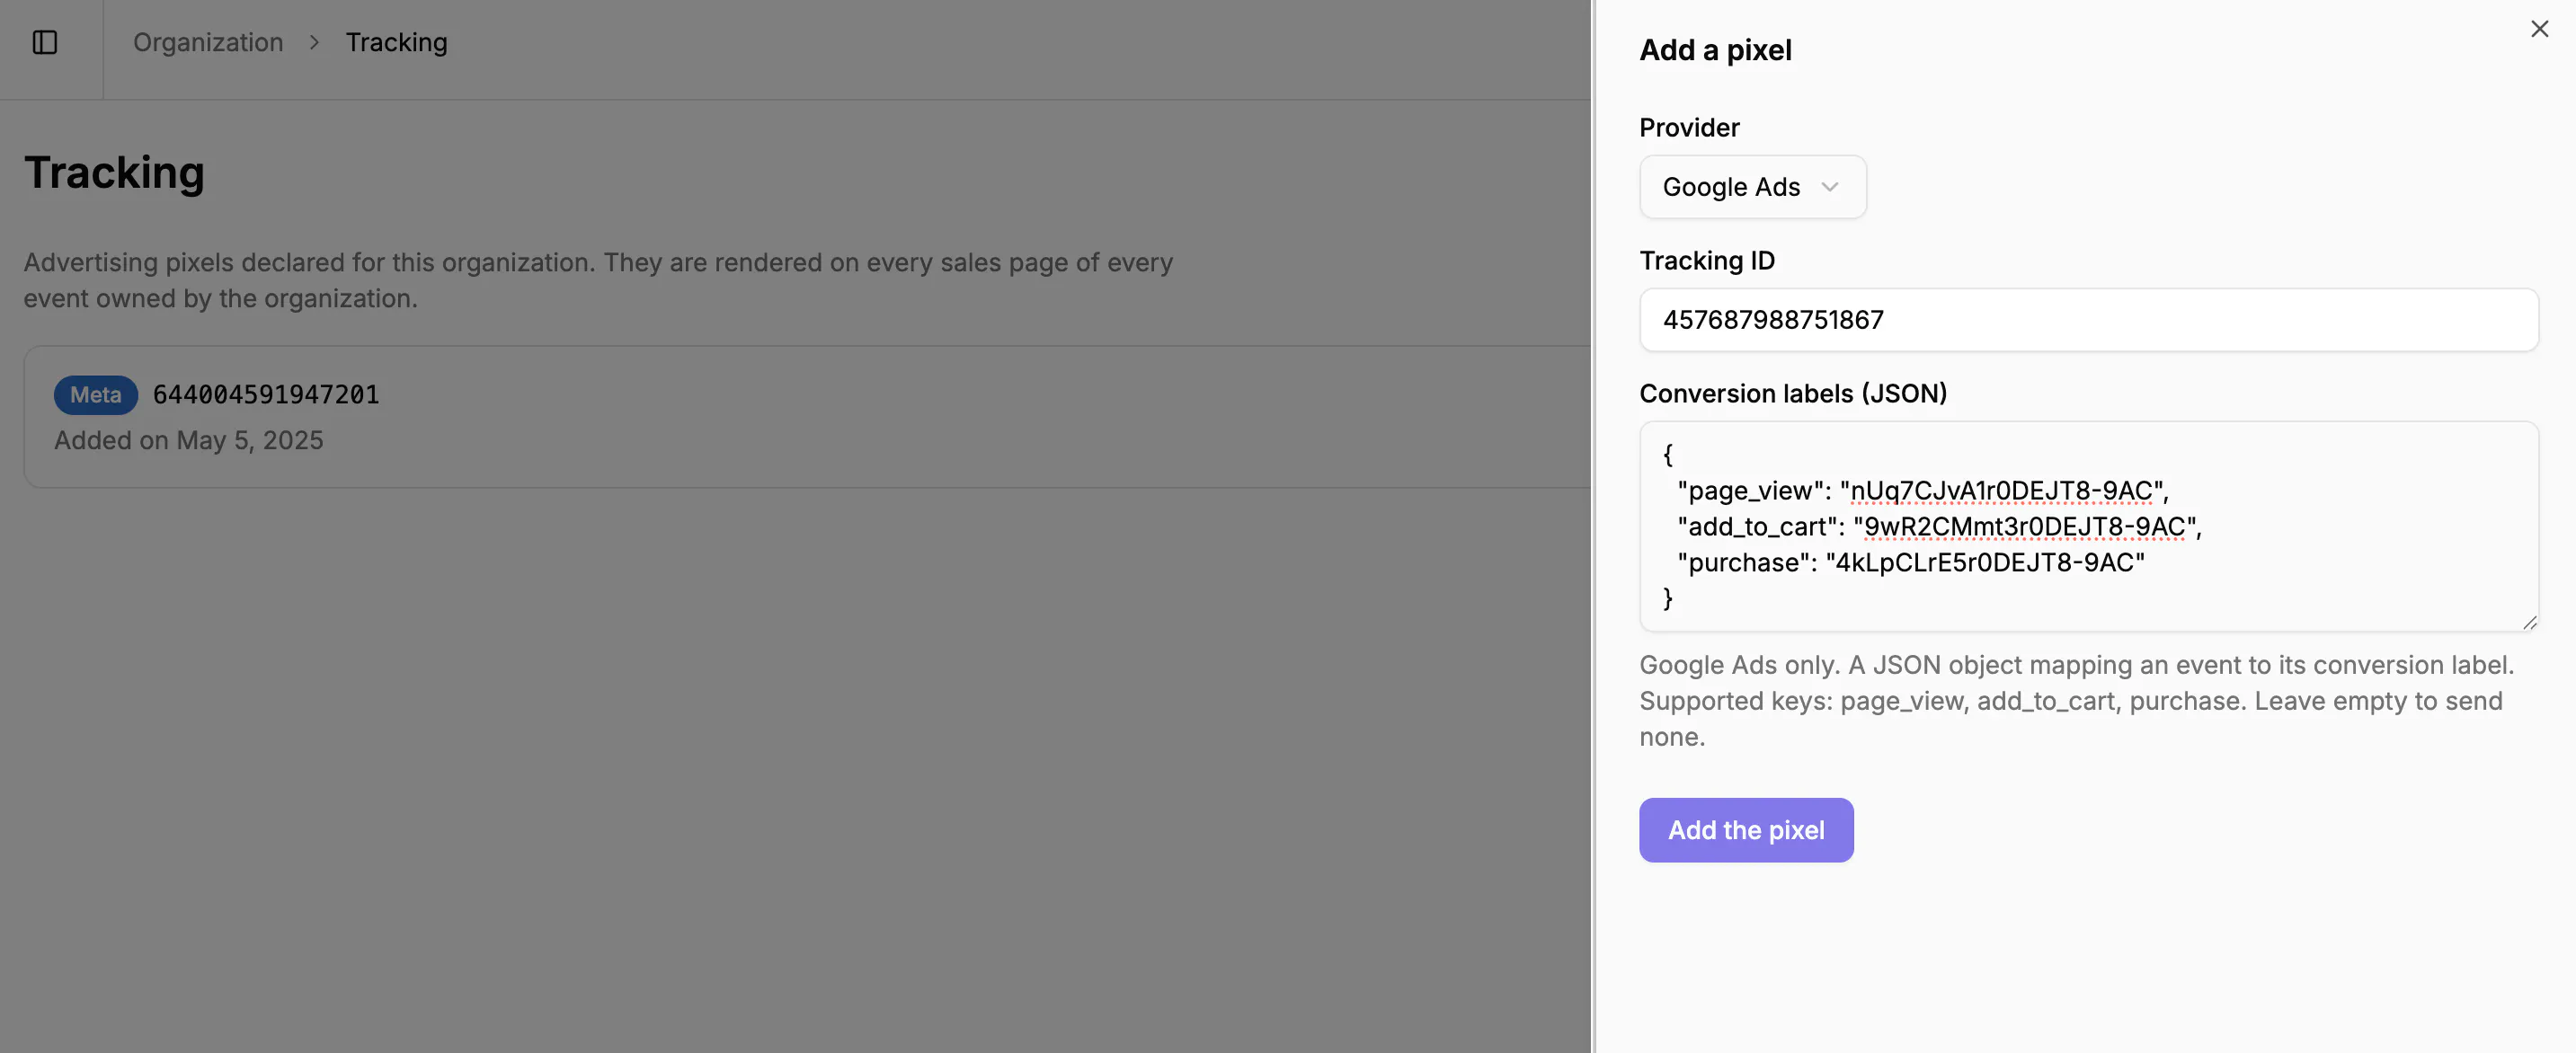
Pixels are set at the organization level, not per event. Once a pixel is added, Billy renders it on all of the organization's sales channels, so a new event is covered as soon as it is created. Removing a pixel stops it from being rendered.
Here is the whole page, so you can situate everything the sections below describe.

Adding a pixel
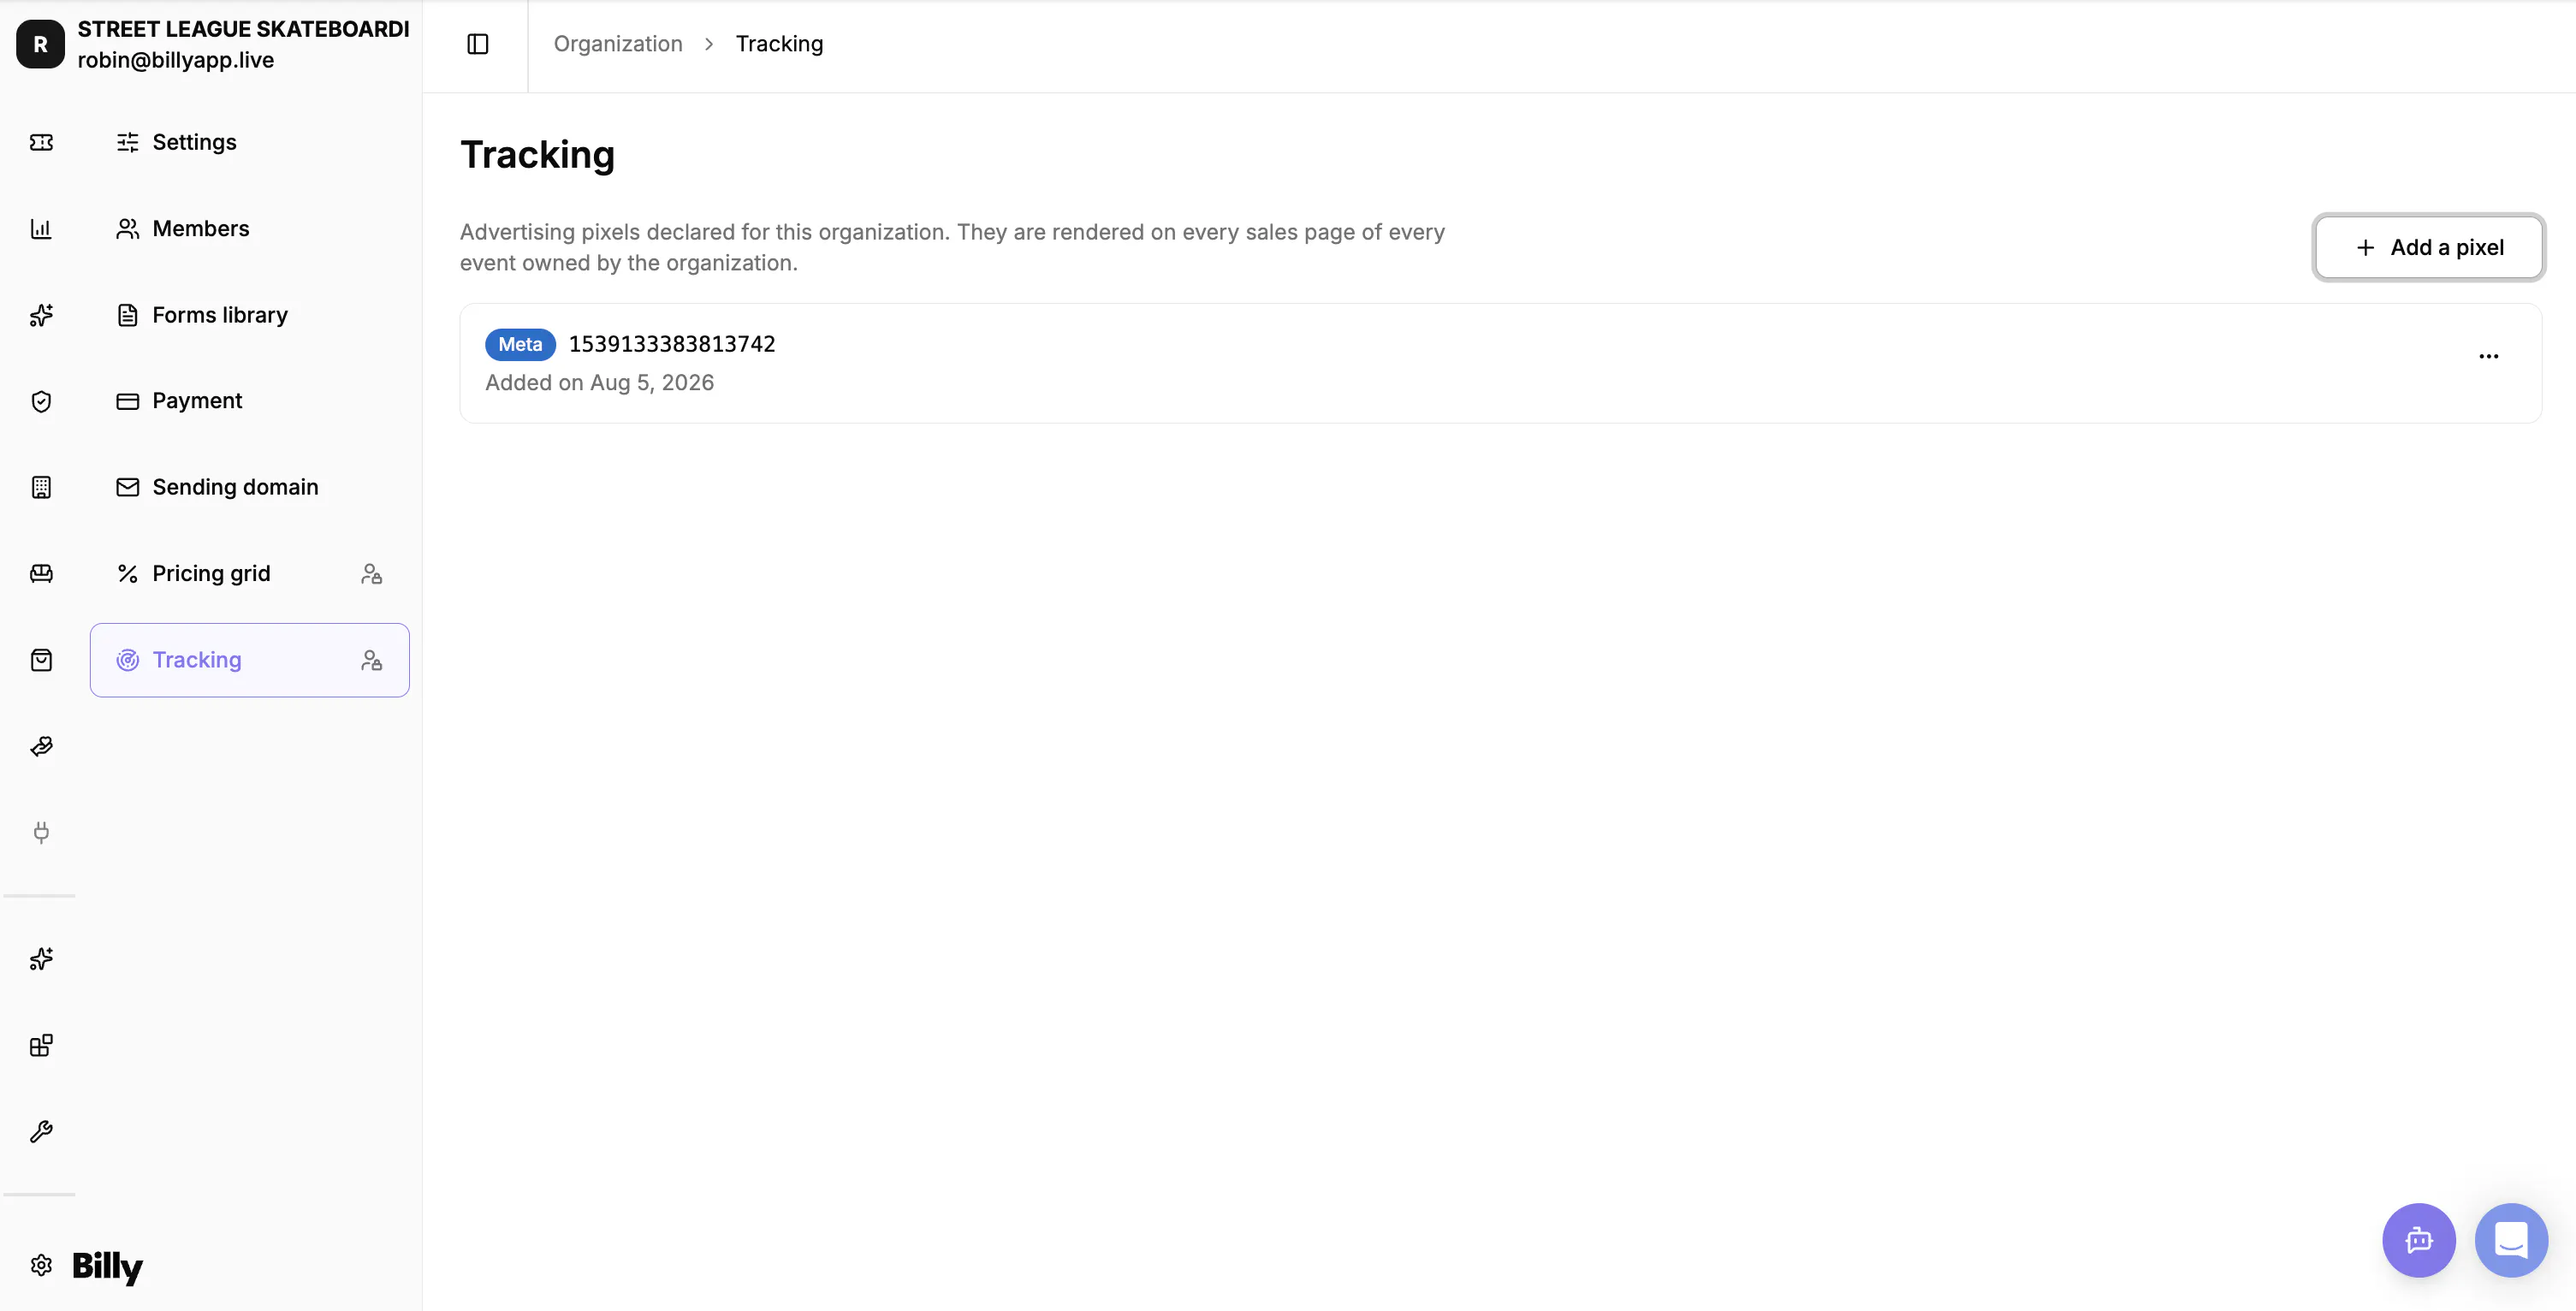
Open your organization settings and go to Tracking, then click Add a pixel. A panel opens on the right. Choose the Provider between Meta, Snapchat and Google Ads, paste the Tracking ID given by that provider, and confirm with Add the pixel. It starts being rendered on your sales pages straight away. Each pixel then appears in the list with its provider, its tracking ID and the date it was added. Its actions menu offers Edit, to change the tracking ID or the conversion labels, and Delete, which asks you to confirm and then stops the pixel being rendered.

Sending conversion labels to Google Ads

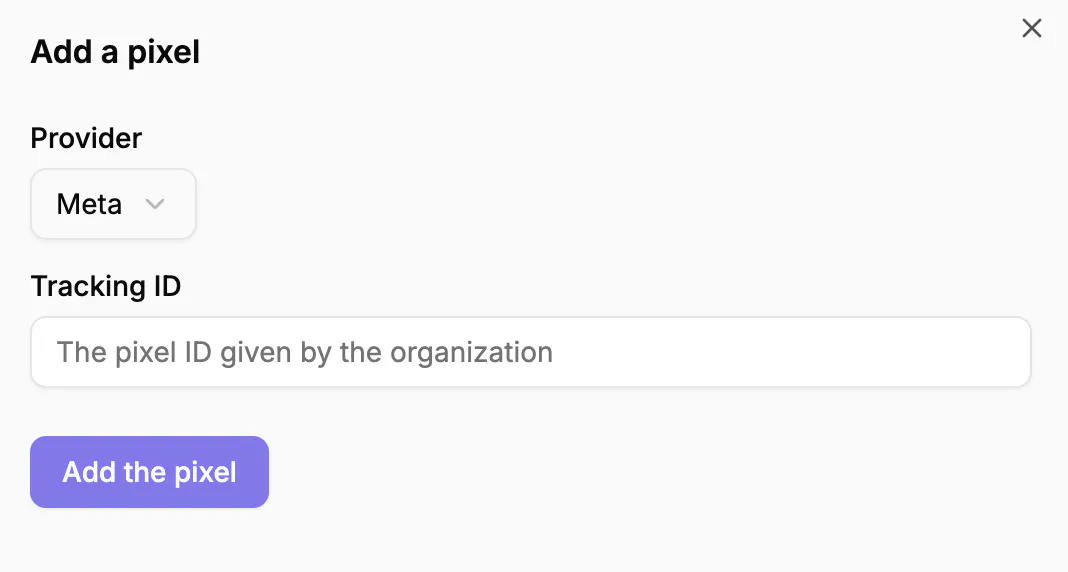
Google Ads also accepts Conversion labels (JSON), which tell Google which conversion to credit at each step of the purchase. The field takes a JSON object mapping a step to its label, and it supports exactly three keys: page_view when someone opens your sales page, add_to_cart when they pick a ticket, and purchase when they pay. Every value must be text. A key you leave out sends no conversion for that step, and an empty field sends none at all. Billy refuses an entry that is not a valid JSON object whose values are all text.
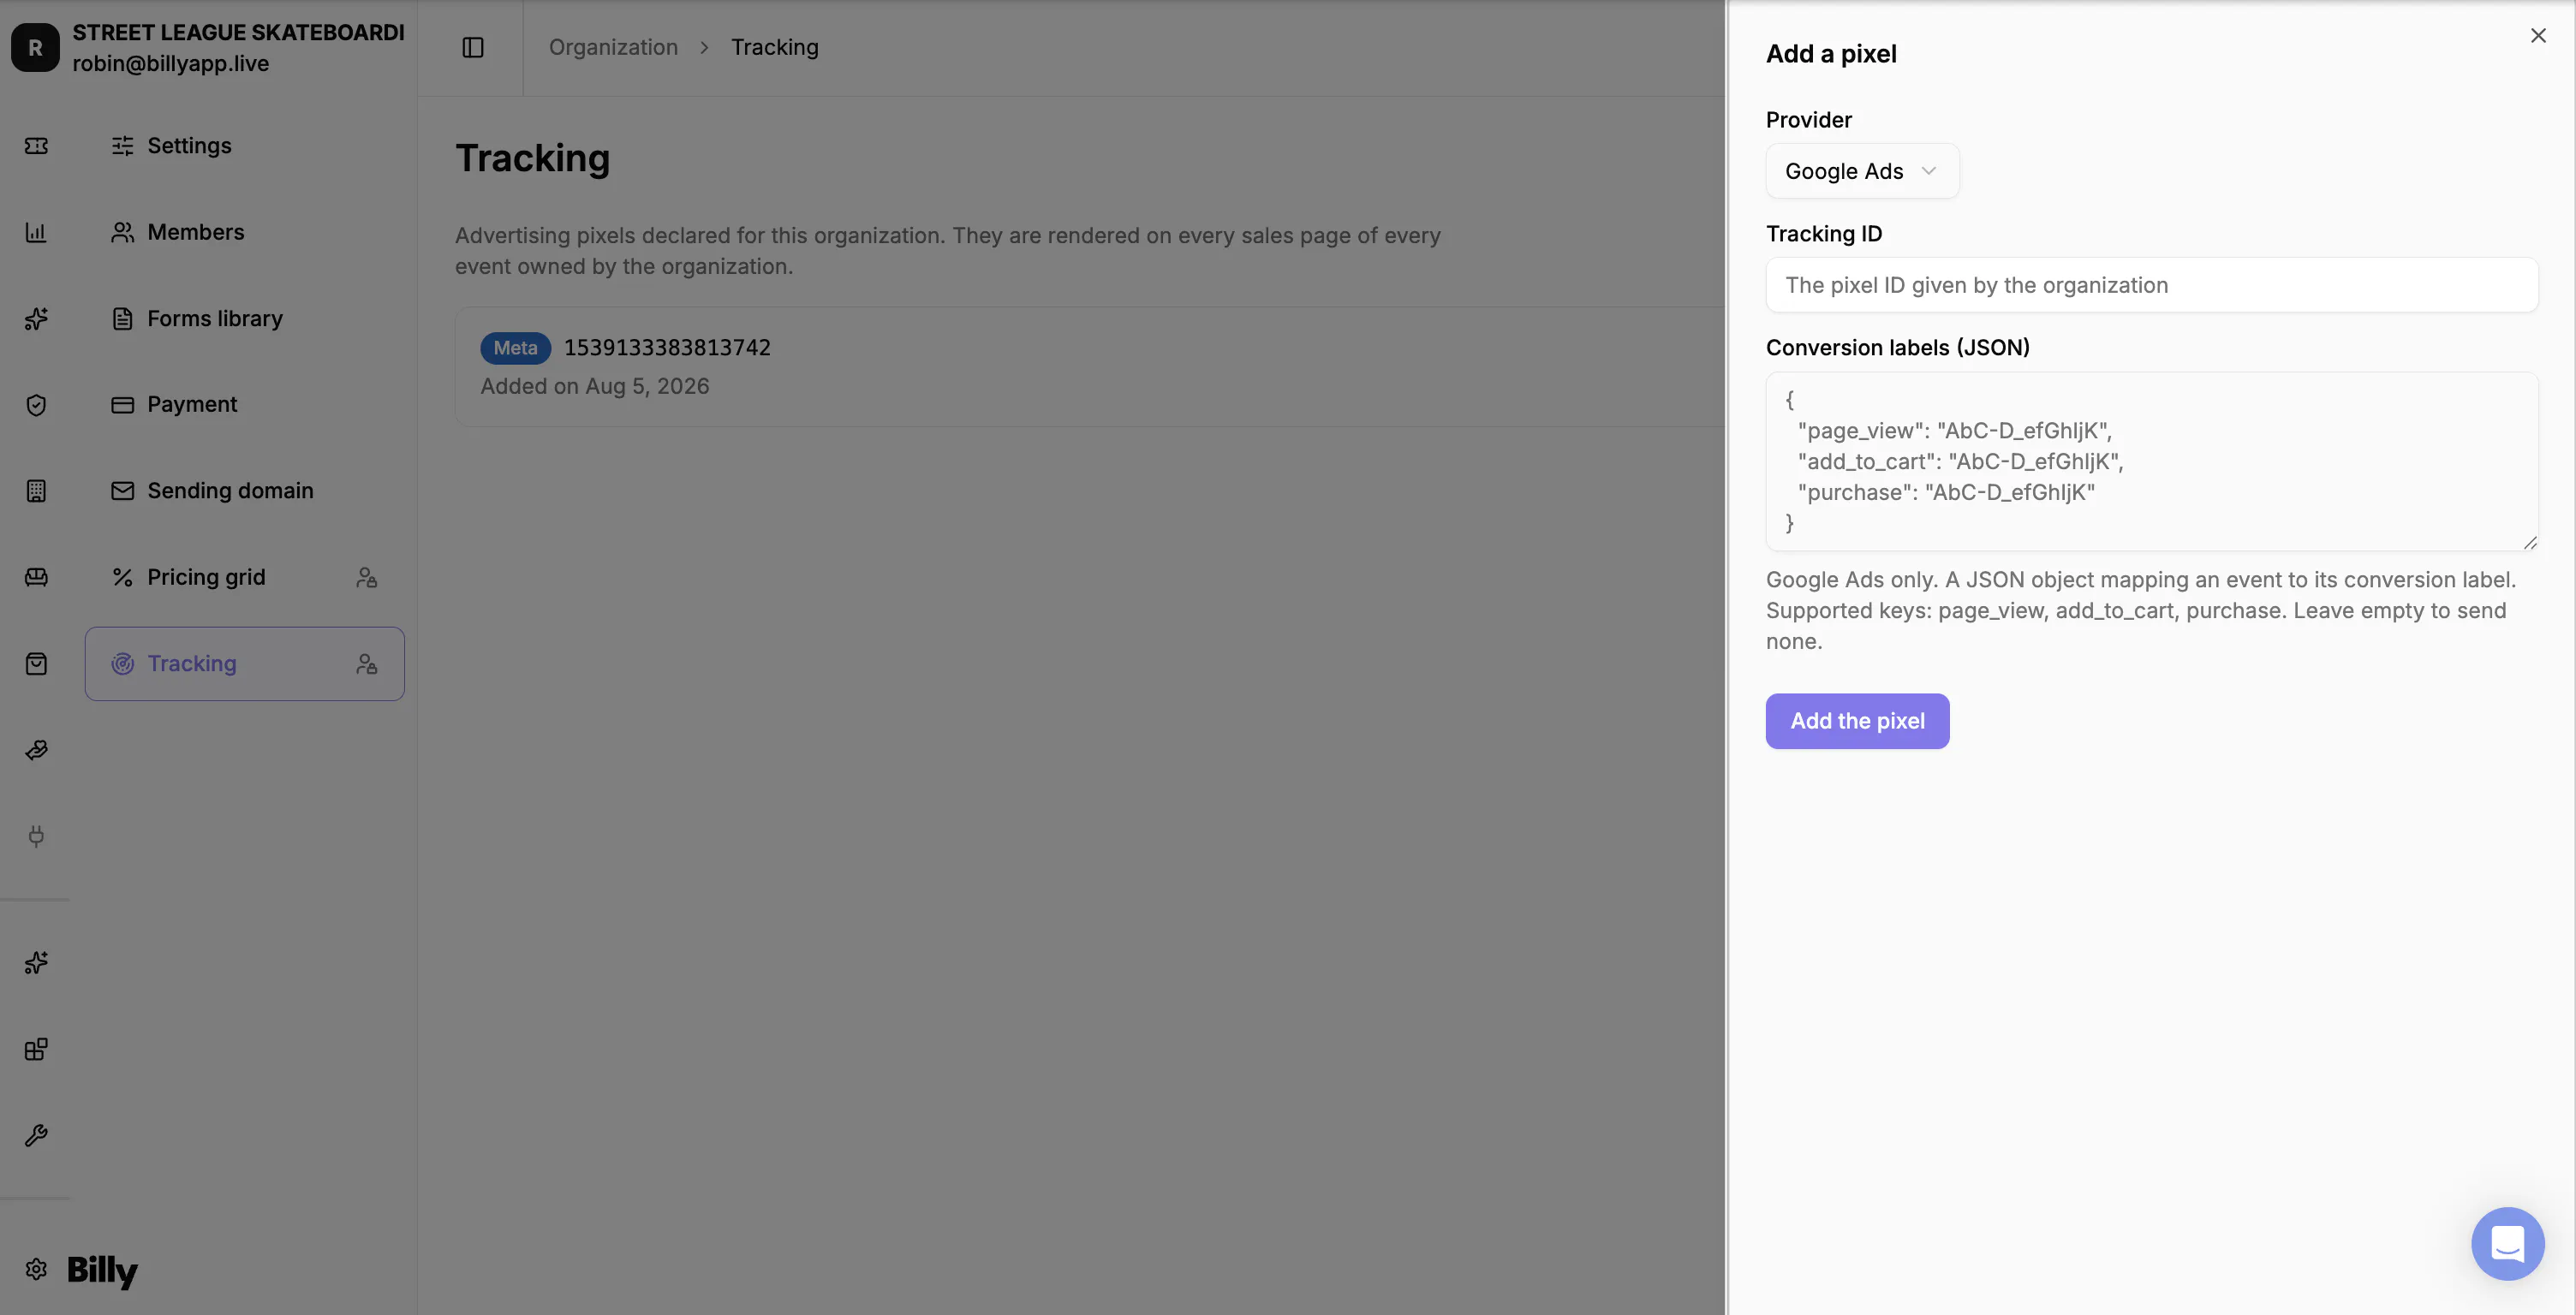
Each label is the Conversion label that Google Ads shows on the conversion action itself, in Tools and settings, then Conversions. Copy it as it appears, without the AW- part, which Billy already knows from your Tracking ID. Filled in, the field looks like this:
{
  "page_view": "nUq7CJvA1r0DEJT8-9AC",
  "add_to_cart": "9wR2CMmt3r0DEJT8-9AC",
  "purchase": "4kLpCLrE5r0DEJT8-9AC"
}
You do not have to fill all three. If your campaigns only optimise on the sale, keep the purchase line on its own and nothing is sent for the other two steps:
{
  "purchase": "4kLpCLrE5r0DEJT8-9AC"
}
And here is the complete panel, filled in for a Google Ads pixel: